Monday, July 27, 2015

Hank Turns Four...ish!

I am an animal lover, but more specifically, I am a dog person. You have a dog that hates everyone? It will love me. On a 1-10 scale of being obsessed with my dogs, I'm Paris Hilton. If my house was burning down and I could only grab two things, well, I'd go up in flames because my dogs hide under the bed when the smoke detector goes off. I even refuse to work full-time because I don't want to only be able to be a part-time dog mom..  need plenty of time for those 3.5 mile walks after I teach class in the morning...between cuddle fetch sessions, of course. My dogs are both rescues, and here's the thing about that--rescue dogs know you saved their lives, and the amount of loyalty and love they give to you is simply unparalleled. Hank and Freyja were dealt really crappy hands for the first year of their lives, and it is my job to make sure they get treated like the extremely valuable pack members that they are and want for nothing for the rest of their adorable, short-legged, furry days. Needless to say, very important doggies get very important doggy birthday cakes. Unfortunately, we do not know either pooches actual birthday, so we have designated birthdays for them, and Hank is now approaching his fourth year(ish). Hank, much like his mother, loves cake. I mean, he loves just about anything if it comes on a plate (also like his mother), so pleasing him in the dessert department is pretty easy.
"Dear God, Mother, hurry up and give me a piece." -Hank Spartacus Fox
I could do nothing but bake doggy birthday cakes, pupcakes, and dog treats for the rest of my days and be the happiest person on the face of the planet. I'll have to hope our next duty station has a dog bakery somewhere because I take the term "crazy dog lady" to a whole new level. I've made a variety of pupcakes for Hank and other dogs, but I have never made a full-on cake safe for doggy consumption. I did a lot of research, and found a recipe for a peanut butter banana cake here and made some slight changes. The whole process from start to finishing decoration took all of two hours, and if you love your dogs half as much as I love mine (congratulations, you're normal!), you should definitely make your canine companions a sweet birthday treat like this.
You will have a captive audience in the kitchen, too.
The ingredients are super simple, and you probably have most of these things already sitting around:
  • 2 ripe bananas
  • 4 TBS honey
  • 1 egg
  • 2 cups of water
  • 3 cups of wheat flour
  • 1/2 TBS baking powder
  • 1 cup of uncooked oatmeal (mine is the quick cook stuff)
  • 1 cup of JIF...because if you really care about your dogs, and your real children, too, I suppose, you won't feed them Skippy.
Start by preheating the oven to 350 and greasing a pan. I used an 8x11 pan, but you could get away with an 8" round if you want a plain cake. I had other ideas. Smash the two bananas and place into a stand mixer and mix with 3 TBS of honey, the egg, and the water. Mix on low as this is pretty slushtacular. Simply add in the flour, baking power, and oatmeal to this wet mix and blend well. Pour into your greased pan.If baking in an 8x11 pan, bake for 45 minutes. A smaller pan will require longer time, as this is a super dense cake.
This...doesn't look that bad actually. I'd eat it. OK, I ate it.
Not gonna lie, I tried a little of the batter before it went in to the oven because I live dangerously and don't care about salmonella or admitting to the public I ate dog treats. It was like a bland oat or granola bar, really. I'd add sugar if it was for me, but it wasn't, so I suppose I will stay focused on this blog's true star, Hank's birthday cake.  Once the cake is done, let it set in the pan on top of a cooling rack for a half an hour before turning out to cool on the rack completely (only takes 15 minutes in the freezer).
I was dead set on making this cake look like a giant milk bone, so I cut out a milk bone shape on a piece of paper and cut around my cooled cake.
I placed it on a cake round and marveled at my creativity. As talented as he is, Hank can't actually pat me on the back for this, so I did it for myself.

Everything's better with JIF!
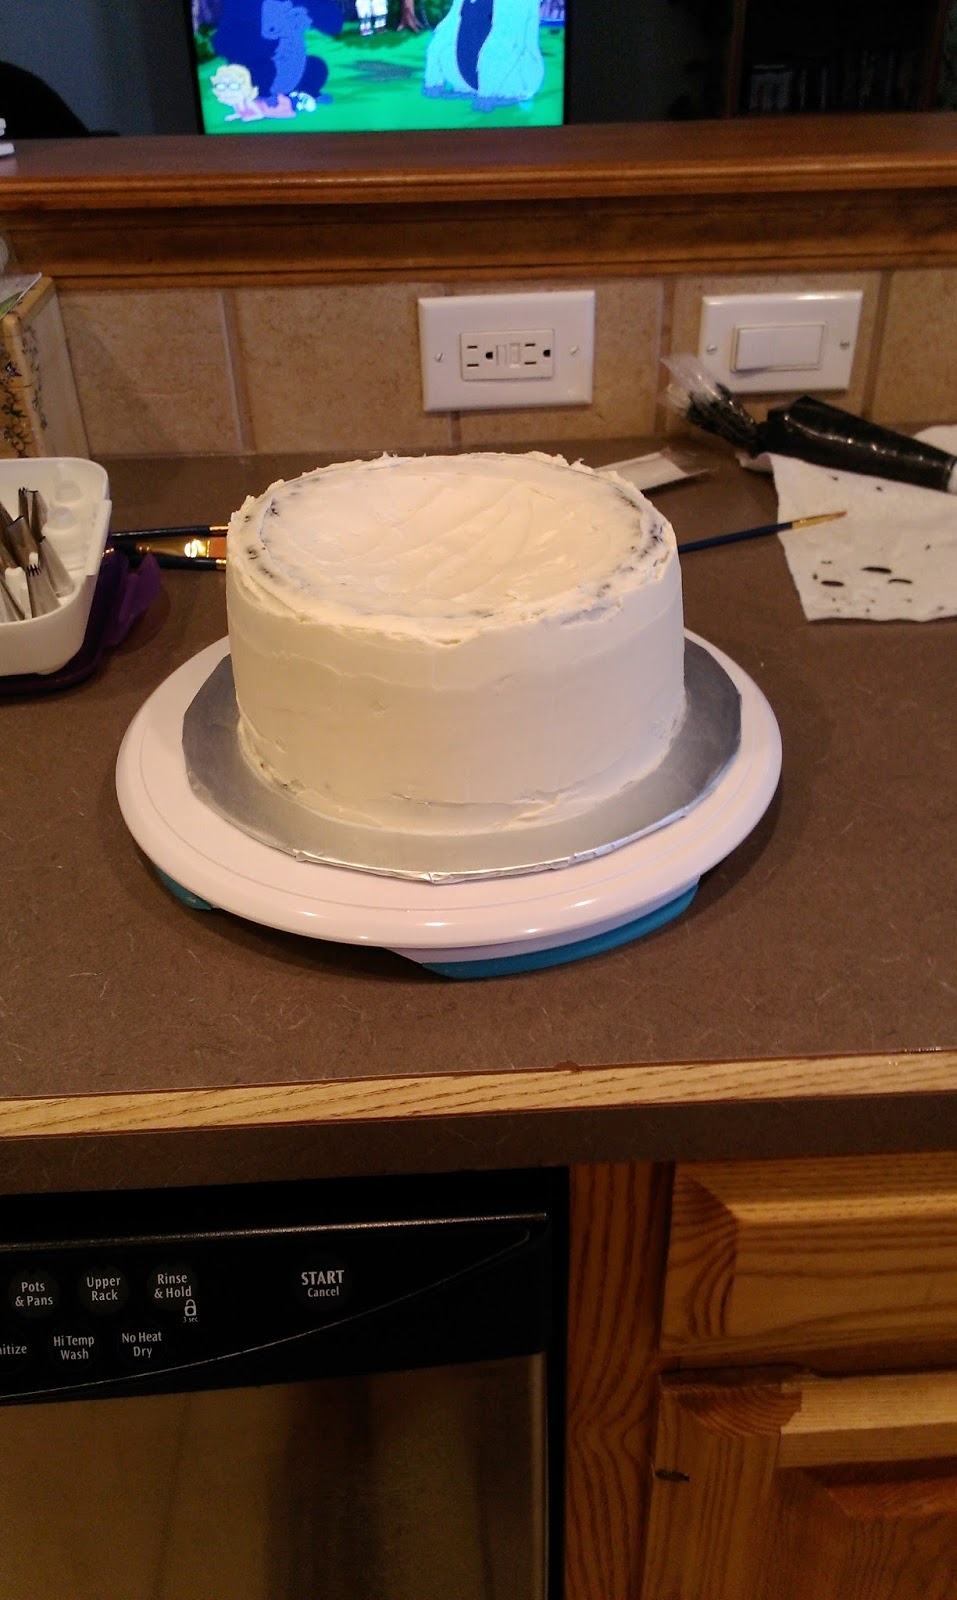
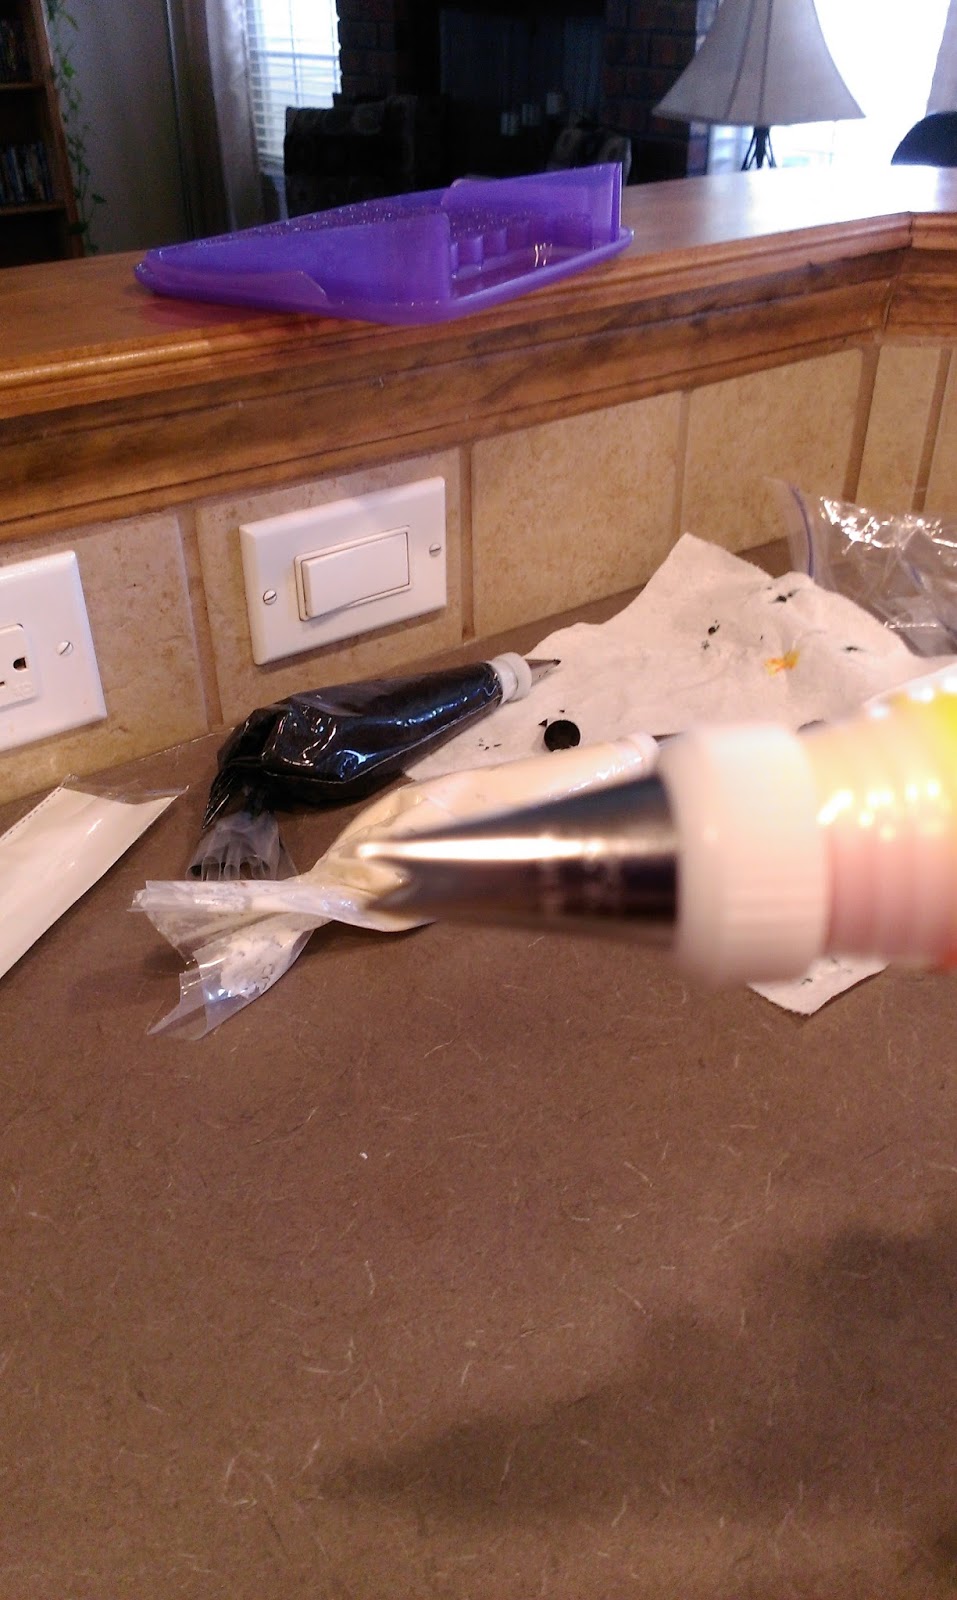
Making the frosting for the cake is extremely easy. Mix the cup of peanut butter with the remaining tablespoon of honey, and use a small angled spatula to frost the cake. I smoothed things out with my larger spatula before realizing Hank wouldn't care if the frosting wasn't perfect (but I would). I took the remaining frosting and mixed with some black gel icing. I placed this into a piping bag and snipped off the tip before writing Hank's name in the middle of the cake with it:
I finished things off by adding a kibble border around the side and top of the cake.
 I suppose you're wondering if the dogs liked the cake...Is the sun hot? Is fall the undisputed champion of seasons? Of course. I mean, the second I get out the jar of JIF and the dogs see the bottle with the red cap, they go crazy. I thought they might stage a coup while I was taking my time frosting the cake, or at least find someway to just so happen to end up on the counter top right next to it. Hank has managed to do this before to eat a bowl of pumpkin candies, so I put nothing past what his love of food can drive him to do.
As witnessed here where he is licking the bowl clean after cake. Yes, his eyes are closed as he is the one dog in the world that has figured out this will help him savor his meal. I may have accidentally taught him this, but it's adorable either way.
 There is nothing in this world I wouldn't do for my dogs, including sleeping in less than one cubic foot of space so they can cuddle with me every night and waking at the crack of dawn to walk them before it gets too hot out. You might think I am crazy and that I love my dogs too much, and I'd say you're right on both accounts. But dogs are not items to be thrown in the backyard and forgotten. Dogs are family members. Dogs are best friends. Dogs are furry little children. You're the one in charge of the pack, and if you guide and love your dogs just right, they'll have your back no matter what. You'll know if you've mastered this balance the moment your dogs start standing watch by you while you're just trying to go pee in peace in your own bathroom. They can't leave their Alpha alone with their pants around their ankles, after all...literally. 'Til next time, my fellow eaters!
Happy Birthday to my soulmutt, Hank. After all these years together, I'm quite certain you're really the one who rescued me.

Monday, July 20, 2015

What a Lovely Day.

Nothing says "party" quite like leather, assorted weaponry, and cake. I feel like that may be the most Texan thing I've ever said, so I better preface this with some content. Recently, my husband's husband (yeah, your husband has a best friend he can't function without, too) and his wonderful girlfriend moved into the neighborhood. They decided they wanted to host a housewarming party this past weekend...but not the kind of housewarming party where the wine and cheese spread was the main focus. No, this ended up being the kind of house party where come midnight, a group of grown men had gathered in the kitchen while waiting for me to give them fake metallic tramp stamps (#squadgoals). You see, our friends decided to let the neighborhood know the War Rig had arrived by hosting a Mad Max party....which makes the shiny and chrome fake tatts a little more understandable. There were War Boys, Imperators, a gyrocopter pilot, and our very own apocalyptic banjo player complete with "flame shooting" banjo. Even the charcuterie stayed in character in the form of assorted meats, fruits, and vegetables from Immortan Joe's Garden, and the Mother's Milk (piƱa coladas) was cold and filling. Hence my opening statement: I've never seen more airsoft guns and leather all in one place, and it was glorious. And of course the cake had to fit in with the theme, so I was commissioned to make a steering wheel cake and did so in honor of Nux, the charming halfwit he was...
I'm gonna witness you going straight into mah belly.

There was lots of talk about becoming shiny and chrome in Mad Max: Fury Road, so naturally most people were carrying around cans of silver color mist to spray in their mouths so they, too, could be witnessed on the adventure to Valhalla, or in this case, the adventure to their impending hangovers the following morning. By the end of the night, most people looked like they had just finished making out with half of a three-ring circus, so the photo ops were pretty epic....I even made sure the cake was sprayed in a shiny chrome finish and bared the "Witness Me" War Boy cry. Have I mentioned how much I enjoy a good costume party? Although in Clovis, the Mad Max world seems one Walmart closing away from actually happening.
I love it when friends leave us a love note.
Since this was a rager for the ages, I made my Guinness chocolate cake (recipe doubled for 2 8-inch rounds) with crusting Baileys buttercream frosting for both the sides of the cake and the buttercream transfer on top (frosting recipe and amount there). This was only the second transfer I've made, and my first 8-inch transfer. It involved more detail than the Ace of Spades transfer, but it was a lot easier to handle and place on the cake than the 9x13 transfer that required both me, my husband, and a lot of praying to put on top of that cake.
Like that? Didn't even warn you it was crappy photo montage time. There's no rules in the apocalypse, people. For this transfer, I drew out a steering wheel with a skull in the middle on Parchment paper using black and red Sharpies. I am so not talented enough to draw Nux's actual steering wheel, so this was as close as it was gonna get. It still looks like fire and brimstone, so it works.
Then I flipped it over and taped it to a clear cutting board.

Always start a transfer by outlining each color on your transfer. Check your work from the underside of the glass cutting board or plexiglass. If you see light poking through or if your outlining looks uneven or crooked, use a paintbrush to reshape your lines or pat down any areas where light is poking through. This sounds simple, but it is very time consuming. As with most things that require painstaking effort, the end results will totally kick ass and make you the preferred cake decorator for the apocalypse.
At the end of May when I made the Ace of Spades cake, I had the wherewithal and astounding willpower to not eat the leftover black Baileys buttercream I had used, but instead carefully package and freeze it for future use. I wanted to go back in time and hug myself for this because it was a huge help just to place #2, #3, and #5 tips on the frozen bags and let them thaw out for use on this cake. Speaking of this cake...once I had outlined everything that was going to be black, I placed my transfer in the freezer for 30 minutes to set.
Then I came back in and filled in the skull with a piping bag fitted with a Wilton #3 tip before setting back in the fridge for another half an hour. Luckily my husband was home to keep me sane during the massive amounts of waiting time in between icing layers.
For my flame section and flames on the side of the cake, I made one small bag of frosting dyed yellow and one small bag of frosting dyed red. I snipped a small amount of tip off of each bag...
And slid them into an empty bag fitted with a #3 tip. I piped out a bit of frosting until both colors were coming out at the same time, creating a red, yellow, and orange effect for the fire.
As "witnessed" here. Once done outlining the fire and filling in the black areas on the skull, back to the freezer for another grueling 30 minutes.
Then I filled in the flames completely...loved how this turned out. Guess where it then went for a half hour? If you guessed Reno, you're wrong.
Then I filled in the white section behind the flames with painstaking calculations, piping, and paint brushing before freezing for the 800th time. The end of the world is a lot of work, y'all.
The light at the end of the proverbial tunnel was finally coming around though when I finished filling in the black sections of the steering wheel. This time around I froze for a full hour to let things really set.
I really want an Oreo... To finish up, I placed a #12 tip on a final bag of white frosting and gave my transfer a level back. After piping over everything completely, I used a small angled spatula to smooth things over. This then went into the freezer overnight.
I left my cake (crumb coat, final coat, and smoothed on the sides) in the fridge overnight as well. I didn't place a final layer of frosting on top since the transfer would take care of that for me.
I sprayed the entire cake with silver color mist because it had to be shiny and chrome. No way around it. Any areas that were runny I soaked up with the edge of a paper towel. Luckily, it was not humid this time around and everything actually dried. Whew.

I took a toothpick and scrawled in the War Boy mantra before piping over it with a #3 tip in black frosting.
This is a tip I was totally unfamiliar with and not at all sure why I already owned. Say hello to the Wilton #352 tip...more commonly known as the leaf tip. But I used it to make beautiful fire! POWER! Sorry..that's a Top Gear thing (why does everything I love leave me?), but it seemed appropriate here.

To make flames (or leaves, you damn hippie), you want the tip pointed sideways, as pictured above.
I held my bag with the tip like the photo above and piped a large base and quickly pulled up and then released pressure and pulled away. I turned the bag completely around and did this again to let the opposing side of color be shown. I did this back and forth around the entire cake, varying the size of my flames.

And it was bitchin'.
After letting my spray dry, I came back in and placed my frozen transfer on top and gently peeled away the Parchment paper. Things will need to be smoothed, so let it sit out and thaw for about 15 minutes before smoothing any lines out with the paper towel trick.
This cake would definitely get a pass into Valhalla. So shiny. So chrome. So witnessed. So tasty.


I finished off by adding a "spiky" border around the transfer to hide the edges. I took the black frosting bag and fitted it with a #21 tip and made small spikes around the entire edge of the transfer. I am quite content with how this cake turned out, and thrilled with our friends for hosting such an awesome night. I'm also happy with how committed to the theme everyone at the party was...all the "Witnessing," fake bruises, cake, and costumes a girl could need to enjoy the fictional end of the world in head to toe black (so slimming so all the chips and cake can be eaten!), surrounded by a bunch of crazy leather-clad friends. What a lovely day. 'Til next time, my fellow eaters!

Monday, July 13, 2015

I Have an Affinity for Green Desserts

Ahh, the lime. Some of my favorite things come accompanied by them- gin and tonics, vodka sodas, and Coronas. But I'm not here to talk to you about booze or the lime's curative powers for scurvy, if that's still a thing. I'm here to talk to you about cheesecakes and pie- I just didn't have a very good segue from one point to the next. We can't always be winners, I suppose. Aside from my hands-down favorite pie in the world, my mom's cherry pie recipe, key lime pie is a close second. But seeing as how I am both lazy AND accident prone, zesting and juicing 20 tiny key limes to make a pie would be downright dangerous for both my knuckles and my fervor for baking. This is why I have never made a single key lime pie in my entire life. But it is so hot outside I thought I might die if I didn't make something at least somewhat comparable, and then Pinterest directed me to a recipe for a lime cheesecake--thus bringing together the holy trifecta of my favorite foods: cheese + cake + lime. If only all desserts could afford my taste buds such an enlightening experience. Although let's be real, as long as it hasn't fallen on the floor for longer than five seconds, I will eat any dessert you hand to me. I just happen to prefer desserts that are green.
Because they are as tasty as they are aesthetically pleasing.
Isn't that just melt-on-your-tongue refreshing to look at? Because it is melt-on-your-tongue refreshing to eat. This is kind of a combination of a cheesecake and a meringue pie, seeing as it has the richness but not the density of the former, and it is a winner in my book for sure. S'mores are wonderful and all, but this cheesecake can make even the most sweltering of summer days seem somewhat tolerable. The power of lime! The process itself is insanely easy as well, so let's get to it, shall we?
Yeah, I didn't even make my own crust...that's how hot it is outside. I've gone listless.
I found and adapted this lime pie/cheesecake recipe from here, and here's what I used:
  • One premade pie crust. Graham cracker would work, but Nilla Wafer was a winner in my book.
  • One packet of lime Jello
  • One cup of boiling water
  • Three TBS of lime juice
  • One 8-oz brick of cream cheese. I went light this time, as I am always afraid I'll have to wear a swimsuit on vacation, and we've got one of those coming up soon.
  • Half a cup of sugar
  • One packet of Dream Whip. This requires a half a cup of cold milk and half a tsp of vanilla to make. It yields two cups, so you could try subbing Cool Whip instead, as it is a similar consistency. Dream whip can be found by the Jello and pudding in a grocery store.
  • Optional:
    • Crushed graham crackers or Trader Joe's waffle butter cookies
    • Lime garnish
    • Cool Whip for topping or frosting decorations
  • One crappy photo montage (I really need a phone with a better camera):
Start by mixing the boiling water, lime juice, and Jello packet together in a medium bowl. Refrigerate after this step for about 45 minutes. You want it slightly set, but not enough to create a skin.
If I had a better camera, you'd be able to see the thickness of the Jello dropping off my finger. When the droplets slightly stick to your finger, the Jello is ready.
While your Jello is setting, mix the packet of Dream Whip with 1/2 C cold 2%/Skim milk and 1/2 tsp of vanilla extract. This takes four minutes, and when done, should look like a thicker version of Cool Whip (see above). Cover and put in the fridge until your Jello is ready.
At this point, I crushed one waffle butter cookie in a small plastic baggy and loaded up a piping bag with a 1M Wilton tip for my Cool Whip. Then I mixed together the cream cheese and sugar for a few minutes until fully incorporated and let it rest in the mixing bowl covered by a dish towel. After that I think I ate lunch or something while cursing Jello for taking so long to become so wonderful.
When the glorious moment finally came, I poured my partially-set Jello into the mixing bowl with the cream cheese/sugar mix. Mix for a few minutes, and if you have any larger clumps of Jello that set quicker than the rest of your bowl, scoop them out. Perhaps eat them, your choice.
Remove the Dream Whip from the fridge and mix in.
And now it is time to pour your mixture into the pie crust. Shove into the fridge (covered) for about four to six hours to set.
You could stop once the cheesecake has set, but since when do I not look for an excuse to add frosting designs on things? I stirred my tub of Cool Whip with a spatula to get out any air bubbles and then loaded up my piping bag and piped little stars all around my cheesecake. Just hold the tip and bag straight up and down and gently squeeze until you get a star the size you like. Pull the tip away quickly and gently. Repeat around the whole cheesecake.
Then I took my crushed cookie crumbs and sprinkled them all around the side of my cheesecake and on top of my piped stars.
I thought I was finished, but then I realized I wanted to add a garnish to the center of my pie because I am fancy as hell, and nothing screams class quite like garnishes you're not allowed to eat adorning your foods. Since summer has only two real benefits to me, 24/7 flipflop wearability and the fact that it's gin and tonic season, I always have limes on hand in the fridge. Lime garnish on top of a lime cheesecake? My OCD is tingling.

To create lime spirals, take a potato peeler and peel off a large and long chunk of lime. Take this chunk and slice it into smaller strips. Wrap each strip, one at a time, around your pinky finger. This will create a nice circle. You could stop here and it would still be pretty, but to create a spiral, unfurl the circle and take each end and twist in the opposite direction. This will create a nice spiral:
Not pictured is the pinky finger now missing a large chunk of skin thanks to the potato peeler. Just when I thought I might be capable of making an actual Key Lime Pie...
I bled for this cheesecake...for not in or on; I feel like the specificity of my preposition use here makes a really big and less health inspection-y difference. But this lime cheesecake is light, airy, and packs a wallop of tart lime flavor while the cream cheese keeps things from getting too acerbic. No one wants bitter beer cheesecake face. The cool thing about this recipe is that you could easily replace the lime Jello with any other flavor of Jello to create loads of different cheesecakes- orange, raspberry, whatever you like, you adventurous little monkey. So not only is this dessert gorgeous and tasty, it is also extremely versatile in direction. Like the Jennifer Lawrence of cheesecakes, if you will. What, taking it too far? I'm simply proud of the fact that I resisted typing any lyrics to "Put the Lime in the Coconut" during the entirety of this blog post. You're welcome. 'Til next time, my fellow eaters!
Enjoy the view!

Saturday, July 4, 2015

Red, White, and Sparkly.

I trust everyone is having a fantastic Fourth of July. I love celebrating freedom, America, and my God-given right to shove whatever I want in my mouth today with reckless abandon because America's birthday is everyone's cheat day. Truth...just ask the KFC buckets in our trashcan. Am I full of regret? Yes. But does that regret taste like the extra crispy recipe? You better believe it. We're gearing up for a couple of BBQs later, so naturally I spent all day yesterday coming up with a dessert that just screams "'Merica!!!" without actually having to say a word. After last year's American flag cake, I realize I shot myself in the foot and nothing I ever bake for July 4th will be able to top that. So going in with low expectations (how American of me), I decided to make a flag out of cake pops instead. But since this is a day all about panache and flare, I realized that my cake pop flag needed to be as blindingly bright as the sparklers and Roman Candles I'll probably be burning myself and others with later. I apologize in advance to anyone who loses an eyebrow at my hands this evening...I'll bake you a free cake. So to help make my pops...pop...I decided to try out luster dust for the first time, and I was NOT disappointed (and not just due to the fact that you get to use vodka to mix it for painting and perhaps sipping. I'm sure my insides are quite sparkly now)...
"And I'm proud to be an American, where the flags are so tasty. And I won't forget the eggs that died, and gave that cake to me." ...yep, it's official, I'm going to hell for that.
Every once in a while, you just see something so American it brings a tear to your eye. This is one of those moments, people. I still hate making cake pops, but getting to coat them in a shiny layer of edible glitter was pretty damn awesome. Cake pops are time consuming, and as I mentioned earlier, I spent about 6 hours working on these yesterday from start to finish. Still not as time consuming as most cakes, and considering I owe my cake-baking freedom to some pretty baller forefathers, the work was most definitely worth it in order to show my patriotism in a less explodey, more nourishy kind of way. Lord only knows what weird British dessert I would have made if it weren't for old G.Wash and Tommy Jeffs. What? I can't be the only person who gave the Founding Fathers awesome nicknames.
Yeah, it was a box cake. I celebrate my right to be lazy and entitled, okay?
I'll give you a few pointers on cake pops that helped me streamline the process:
  • Make your cake a day ahead of time, crumble into a large bowl when cooled, and mix with 2/3 of a can of frosting. I wanted lots of color, so I went with funfetti cake with lemon frosting. 
  • I use a cookie scoop to scoop and form each pop. 
  • I also recommend freezing for a half hour and then rerolling your pops to get a great form. Something about rolling 40 cake pops, by the end of it, things are looking a little wonky thanks to your claw-like phalanges. So give them and the pops a rest before one final reroll, and you'll thank me later.
Now, on to some geometry.
I had 40 pops and a tray from Hobby Lobby to place them on. You need more red than any other color. I had 18 red pops, 13 white pops, and 9 blue pops. By the end of all the chocolate coating, I had red, white, and blue myself (long live Arrested Development).
I am really getting my money's worth out of those $4 paint brushes.
Once you've rolled everything nicely, gather up the rest of the ingredients. I used:
  • One bag of red, white, and blue candy melts
  • Paint brushes
  • Red, white, and blue luster dust
  • Cake pop stand and styrofoam block
  • Small jar of star sprinkles
  • Cake pop sticks (you need these to make painting and dipping easier, but they will be removed in the end)
  • Vodka. It is good for the soul AND the luster dusting process
No one bought me a new camera after my plea last week, so let's get ready for a crappy photo montage that only a Window's phone could bring you. I'll never understand how I can create a PowerPoint presentation on my phone, but taking a decent picture is next to impossible.
Start by melting your chocolate into a deep cup or Tupperware. Follow package instructions so you don't scorch the chocolate and render it useless. Take a pop stick, dip it into the chocolate, and stab into a cake pop. Repeat until you've done this for all 18 red pops. Place into the fridge for 10 minutes to harden.
I just had the strong, overwhelming urge to go to Target sweep over me. Nuke your chocolate on LOW power for 10 seconds. Take each pop individually and dip into your cup/bowl/whatever. Pull out of the chocolate slowly, and then hold the pop over your cup at a 45 degree angle. Tap your wrist holding the pop with your opposite hand over the cup while slowly spinning the pop in one direction. When you come full-circle, spin back around in the opposite direction all the while tapping your wrist. Tapping your wrist will smoothly rid excess chocolate and prevents the pop from shaking too hard and falling off the stick, so don't just hit the pop on the cup because that is what will happen. Trust me, I've failed for you here in the past. Place into the fridge for 20-30 minutes to dry.
Belvedere has saved me two weeks in a row now. Is there anything a potato can't do?

Take a large paintbrush full of luster dust and place into a tiny ramekin. Add a few drops of vodka or another clear liquor with high alcohol content to this and mix. The vodka helps you paint on the luster and will then evaporate as it dries, so your pop will take just fine and not at all like vodka (sadly).
I simply painted on the dust. I got through about 6 pops before creating another mix of vodka and luster.
You can really see the difference here...luster on the left, plain pop on the right.
Once you've painted all the red pops, place aside on the counter to finish drying--this process will take about an hour. So while those are drying, you can get started on the white pops! 
Here's a better look at how much luster dust I used. This amount covered all 13 white pops with none to spare.
And mixed with vodka! I know it's Russian, but I have to hand it to them...vodka is a very versatile liquor. From assisting in improving baked goods to lowering your standards, it has an everyday use for sure.
Repeat the melting chocolate, stabbing pops, fridge for 10, dipping, and fridge for 30, luster dust process again for the 13 white pops. These white pops were actually quite pretty on their own, but as is the case in life, most things look better with a coat of paint on them.
I never want anyone to eat these. They are all that is right and beautiful in this world. You could tie ribbons on these and make them wedding cake pops quite easily. I die.
By the time you've luster dusted the white pops, you can remove the sticks from the red pops by gently wiggling the stick until they come loose. Since the pops, now cake balls, need to sit flat, take a small paring knife and trim away any uneven bottoms. I hate uneven bottoms on cakes, chairs, and people. And surprisingly enough, a little knife action can fix the problem for all three. Once you've...unstuck? the red pops, melt the blue chocolate and skewer the 9 remaining pops before chilling in the fridge. Come back and dip the last of the pops in the blue chocolate and let set for another half an hour in the fridge. This is where time adds up...with the waiting. Could you guess patience is not a virtue I possess? If you're more than 5 minutes late to something, I think less of you as a person. Not that it matters. I think less of me as a person after what I did to that bucket of KFC earlier.
I was reminded by these pops how much I hate the Dallas Cowboys.
Once the blue pops are dry, paint with the blue luster duster. While the dust is STILL WET, sprinkle with stars or little white sprinkles. Set aside to dry, but continue to look at these condescendingly out of the corner of your eye while muttering derogatory comments about Tony Romo.
You know exactly what I mean.
There is a sparkly light at the end of the tunnel.
Once done with the blue pops, remove the sticks from the white pops. Now you can begin to assemble the flag. The top three rows have 5 pops of alternating color while the bottom two rows have 8. And my Hobby Lobby tray has infinite rows of patriotism.
Once the blue pops are dry, add all nine in the remaining square.
I'm quite OCD (no, really?), so I shuffled things around and made sure no rough edges or unevenness were occurring with my flag. Then I took a step back on the feet that had lost feeling around hour four and admired how gorgeous this cake pop flag turned out to be. Was it hard? Did I end up having to run to Hobby Lobby during the middle of the process? Did I experience grotesque hunger anger when I plowed through snack time? Yes. But all things considered, it was totally worth it (much like the fried chicken). I will be happy to sink my teeth into one of these pops later...even if it does feel a little un-American to eat Old Glory. On a serious note, I of course am a very proud Texan and military wife. But I am an even prouder American. We have come a long way even just in recent weeks, but I hope our country continues to adapt and learn how to embrace our differences instead of fighting over them. Think of how far we have come since 1776, but we still have room for opportunity and growth. And that's part of what makes being an American so great; we all have different experiences to share and bring to the table in the feast that is life. So continue to take another helping of freedom and love and brotherhood (and cake pops) this Fourth. 'Til next time, my fellow eaters.
G.Wash would've loved these...wooden teeth and all.