Sunday, May 28, 2017

Just Add Jif

When I really like something, I tend to go a bit overboard with it. For instance, if I find a cute top that fits me perfectly, I have to go back and buy it in every color available. There was also the time I figured out I liked avocado and decided it had to be put in every meal I ate for a solid month. Oh, and there's my collection of hedgehog-related merchandise ranging from socks to hedgie salt and pepper shakers. I guess what I'm trying to say is that when I make the decision to fall in love with something, I believe only in whole-assing it; there's no half-assing allowed. I'm a woman of few feelings, so when I commit to actually experiencing a modicum of pure joy, I tend to zero in on my poor unsuspecting subject with a laser-like intensity best described as "shark at a feeding frenzy." It's been no secret to many that I'm simply nuts about peanut butter (see what I did there?), and I am still relatively new to mixing peanut butter and chocolate, so it has been my go-to dessert flavoring in recent months. I'm nothing if not efficient in making up for lost time. So when a friend of ours who is even more obsessed with PB&C than I am had a birthday party, it was pretty much a given that I'd be bringing some form of chocolate-peanut-buttery goodness with us. Enter the chocolate fudge peanut butter cake...
I'll take this time to also mention it is topped with both Reese's Minis and Reese's Peanut Butter Chips. Like I said, feeding frenzy.
There is both a layer of fudge and a layer of peanut butter cream cheese resting comfortably between the dark chocolate cake and Cool Whip topping layered in more fudge and what some people might consider enough peanut butter toppings to incite a peanut allergy simply by looking at it. And yet, still under 300 calories a slice. I'm a really efficient glutton. I knew I was going to want room in my food log for both appetizers and dessert, so I opted to make this as low in sugar as humanly possible. Funny thing about that sugar--the stuff is just loaded with calories; so by lowering the sugar in the recipe, I was able to take this from over 600 calories a slice (even for 20 slices!) to 276 calories a slice (for 20 slices total). You know, so you can have your seven-layer dip, enough tortilla chips to hate yourself, a main course, and a slice of cake without having to run a 5k before eating to your heart and/or stomach's content. I won't lie to you--my favorite part of the day is anytime I'm eating.
Needless to say, Betty is my homegirl.
 I'm still sticking with the diet soda/cake recipe that I've found to be tried and true, and most importantly, delicious. Now, your cake won't have a bakery-level of density to it this way, but like I said, I want to be able to have my ten pounds of Tostitos and enjoy some dessert, too, so having a chocolate cake that isn't as hefty as an actual brick is helpful in that regard. I save those dense chocolate (and possibly booze-filled) cake days for rough times when I want to eat something as heavy as my soul feels, like NFL Sundays when my team goes from a 35-point lead to somehow losing in the last two minutes. As a Vikings fan, this happens with a little too much frequency. I digress...to make the cake, all you need is:
  • 10 ounces of diet soda (Coke, root beer, creme soda, something non-citrus)
  • 2 egg whites
  • 1 box of Betty Crocker chocolate cake mix of your choice. I like the pudding in the mix cakes because they are quite moist (even if I hate the word moist).
Grease a 9x13 cake pan and preheat the oven to 350. Mix all ingredients in a stand mixer for 2 minutes and turn into the pan. Bake for 22-25 minutes, or until a toothpick comes out cleanly. Baking with the soda always speeds up whatever the cook time on the box is by 5-10 minutes, so keep that in mind. While baking, lay out the rest of your ingredients...
I accidentally ate a few of these Reese's Minis. I had literally no control over what was happening. They just somehow ended up in my mouth.
You'll also need:
  • 12 ounces of Cool Whip Free, divided
  • 12 ounces of sugar free hot fudge sauce
  • 8 ounces of reduced fat cream cheese, softened
  • 1 cup of creamy JIF (there are literally no substitutes. Get your life together and just add Jif.)
  •  Reese's Minis, chopped (I used 8)
  • Reese's Peanut Butter Chips (a small sprinkling)
  • 1 tablespoon of Hershey's lite chocolate syrup
Things got stabby.
Let the cake cool completely and then poke some holes into it with a fork. Nuke your hot fudge for 45 seconds, stir like crazy, and dump the whole bottle over the cake, spreading it out so it fills in the holes. Technically this makes this a poke cake, but adding another word to an already really long cake name felt unnecessary and cruel, like having to share a Reese's Mini.
I would've eaten it as is, but there were two more layers to go.
 Take your cake and put it in the freezer to let the fudge set while you make your peanut butter cream cheese. In your stand mixer, blend the softened cream cheese with the peanut butter until totally incorporated. Then add in 8 ounces of Cool Whip Free and mix well. At this point, I'm surprised the good people at Cool Whip haven't contacted me about a sponsorship opportunity because I use this stuff almost as much as I use toothpaste. Yes, that means multiple times a day, every day. Whole-assing, people...
Dump your peanut butter cream cheese on top of your set fudge layer (I froze my cake for 15 minutes).
Spread evenly over the cake; be sure to wait to lick the spatula clean until after this has been taken care of.
 Place your cake back into the freezer for an hour to let the peanut butter layer firm up. I used this time to hop online and try to find more peanut butter Halo Top. It's my all-time favorite ice cream now, so naturally it's become my White Whale, and I can't find it in stock anywhere. I assuaged my sadness with another Reese's Mini. I get the feeling you all understand how hopelessly obsessed I am with peanut butter by now. I'd like to thank my dogs for constantly needing walks, my elliptical, and Jillian Michaels for making my fat kid eating habits possible.
And to the good people at Cool Whip...
 Once firmed up, spread the remaining Cool Whip Free on top of your cake. I promise you, this is the final layer. So if you're looking at the depth of your pan and wondering if this cake is going to have a muffin top situation, rest easy. You'll be able to mostly close the lid on your pan. Mostly.
Worth it.
Pictured top left: what the desk looks like at my home office when I have a grant to write.
 Set your cake aside and chop up 8 Reese's minis. I was intending on using 10, so I unwrapped 10, but then I realized I didn't need that many and made the ultimate sacrifice and ate 2 more Reese's Minis. They were unwrapped...what was I gonna do? Throw them away? Share them with my husband? I'm only human.
Drizzle the chocolate syrup on top of the Cool Whip layer. No rhyme or reason to my pattern here. I call it, "Chocolate sauce meets left-hander."

Then sprinkle the chopped up Mini's.
And finish with a smattering of the PB Chips.
 End result: a beautiful mess of Cool Whip, chocolate syrup, and several varieties of Reese's:
And it took my breath away. Well, there was some wheezing and a little drooling.
 This did not disappoint. While the cake and Cool Whip are light and airy, it is definitely needed thanks to the indulgence that is not one, but two layers of extra chocolate and peanut butter amazingness. Each forkful was met with the perfect ratio of Reese's toppings, peanut butter cream cheese, and insanely gooey fudge. I was seriously busy this week, so I didn't have a lot of time to spend on baking (which is both good and bad...good: I don't get to pig out; bad: I don't get to pig out). This cake comes together with total ease and not a ton of time constraints. Baking is quick, decorating simple, and the end result is worthy of anyone who appreciates peanut butter. Thanks to the folks at Reese's for coming up with a ridiculous amount of peanut butter and chocolate dessert offerings, I'm already wondering if it's possible to make a pie crust out of mostly peanut butter cups. Clearly, I'm gonna have to find out. 'Til next time, my fellow eaters!
Peanut butter and delicious.

Sunday, May 21, 2017

An Apple Multiple Times a Day?

I eat an apple every day either with my lunch or for a snack, and I can confirm that the adage is true--an apple a day does keep the doctor away. This could also be due to the fact that unless one of my appendages is falling off, I refuse to step foot in a hospital...but I'd like to thank the apples first and foremost. It had been awhile since I had eaten or even made an apple-based dessert, but I wasn't jonesing for a pie since we had that last week. This then led me to ponder one of life's great mysteries--why aren't there more apple desserts? Why must it just be the pie where we let apples shine? Why do I think this is one of life's great mysteries? Do I care too much about dessert? Does one bad apple really spoil the whole bunch? Somehow the answer to all of these questions was yes, even where it didn't make any sense. But I took that yes and I turned it into a cake. A delicious, apple-filled cake. A cake so good it can stand on its own, or be served a la mode, or even become a syrup sponge for breakfast. A shining example of how you can eat an apple a day, multiple times a day! Take that, healthcare industry.
It's also pretty! And although that does nothing for taste, it still accounts for something.
And now's the part where I get to boast that you get to top the cake with ice cream, syrup, or powdered sugar because one slice is only 170 calories. A slice of apple cake a day will also keep the stretchy pants at bay! This is an 8" round cake, but it is a bit tall, and I knew there was no way I could eat it without trying it with ice cream and caramel drizzle at some point, so this whole cake breaks down into 170 calories per slice for 10 slices total. And now I'm doing apple math. Something I haven't done since elementary school where I always questioned why one person would have 15 apples and if another person took 4 of those apples how many person one would have left...like I would ever share my apples with anyone. I might need them all for snacking. Kate doesn't share food!
Especially if it contains brown sugar.
This cake does not require any crazy ingredients; hell, it barely even requires any sugar. Which is sometimes a cautionary tale in how to dessert properly, but I promise you this is plenty decadent thanks to lemon zest and Golden Delicious apples. To make this culinary masterpiece, gather up:
  • 2 large Golden Delicious apples (~1.5 lbs)
  • 1/3 cup brown sugar (I like the taste of dark better than light since it has more molasses in it and packs more flavor) 
  • 2 eggs
  • 1 large lemon
  • 1 cup of loosely packed flour
  • 1/8 tsp of salt
  • 3 tsp baking powder
  • 1/4 cup + 1 TBS  skim milk
Start by greasing an 8 or 9 inch round cake pan and preheating the oven to 350. In your stand mixer bowl, dump the eggs, sugar, and zest of the large lemon. Save the rest of the lemon...you need it in a minute! Whip on medium high for 5-10 minutes, until your mixture goes from looking like this:
Sad and not at all appetizing.
 To this:
Fluffy and downright tasty-looking.
While your mixture is getting all poofy and delicious in the mixer, peel your apples and core them. Slice into thin, uniform size:
Saving some of the prettiest slices for the top of the cake, naturally.
Take your lemon, cut it into slices, and squeeze over your apple slices to keep them from getting that weird brown funk that normally occurs when apples sit out for too long. No one wants to eat a cake with funky apples. Once you're done mixing the eggs, sugar, and lemon zest, dump in the flour, salt, and baking powder. Blend on low while pouring in all the milk. Up the speed on your mixer a bit and blend until everything is nicely incorporated. Finish up by folding (by hand!!) in all but about 12 slices of apple into the cake batter.
Would eat with a spoon.
Bang your pan on the counter to distribute batter and apples evenly throughout the pan. Then take the apple slices you set aside, and place them into the top of the batter. I just made a simple circular pattern, but feel free to get crazy with it and make a work of art. I was getting too hungry for cake at this point to channel my inner Van Gogh.
Plus I thought this looked pretty in its simplicity. That's also what I'm going with.

And brown sugar sprinkles make everything look 10 times more appetizing anyway.
I sprinkled an additional tablespoon (included in calorie count) of brown sugar on top of everything because it was either that or the tablespoon of sugar was going directly into my mouth. I told you, I was hungry. Now, bake in the center of your oven for 30-35 minutes, or until a toothpick comes out of the cake cleanly.
Your house will smell like the most American of dreams.
So apple pie fresh out of the oven is such a quintessentially American smell...but I just out-America-ed apple pie. My house smelled so deliciously apple-y, George Washington would have been proud. Or at the very least, mildly amused by my steadfast determination to enjoy apples. Let your cake cool on a cooling rack for about a half an hour, then, find some powdered sugar and dust a bit on top:
Much like brown sugar sprinkles, this is mostly just to make the cake even prettier.
 Serve yourself a slice after you dust it with sugar and it is still fresh from the oven. It will change you as a person, I promise. The lemon zest mixes with the apples and hint of brown sugar to create a taste that is leaps and bounds above a simple apple pie filling. Not to mention its ensconced in cake and not pie crust. Unfortunately, cake can't stay piping hot out of the oven forever, but luckily, there is this wonderful invention called the microwave. I see you're familiar with this concept. I've been storing my cake in the fridge and reheating for 30 seconds a slice.
You can't even tell its microwaved!
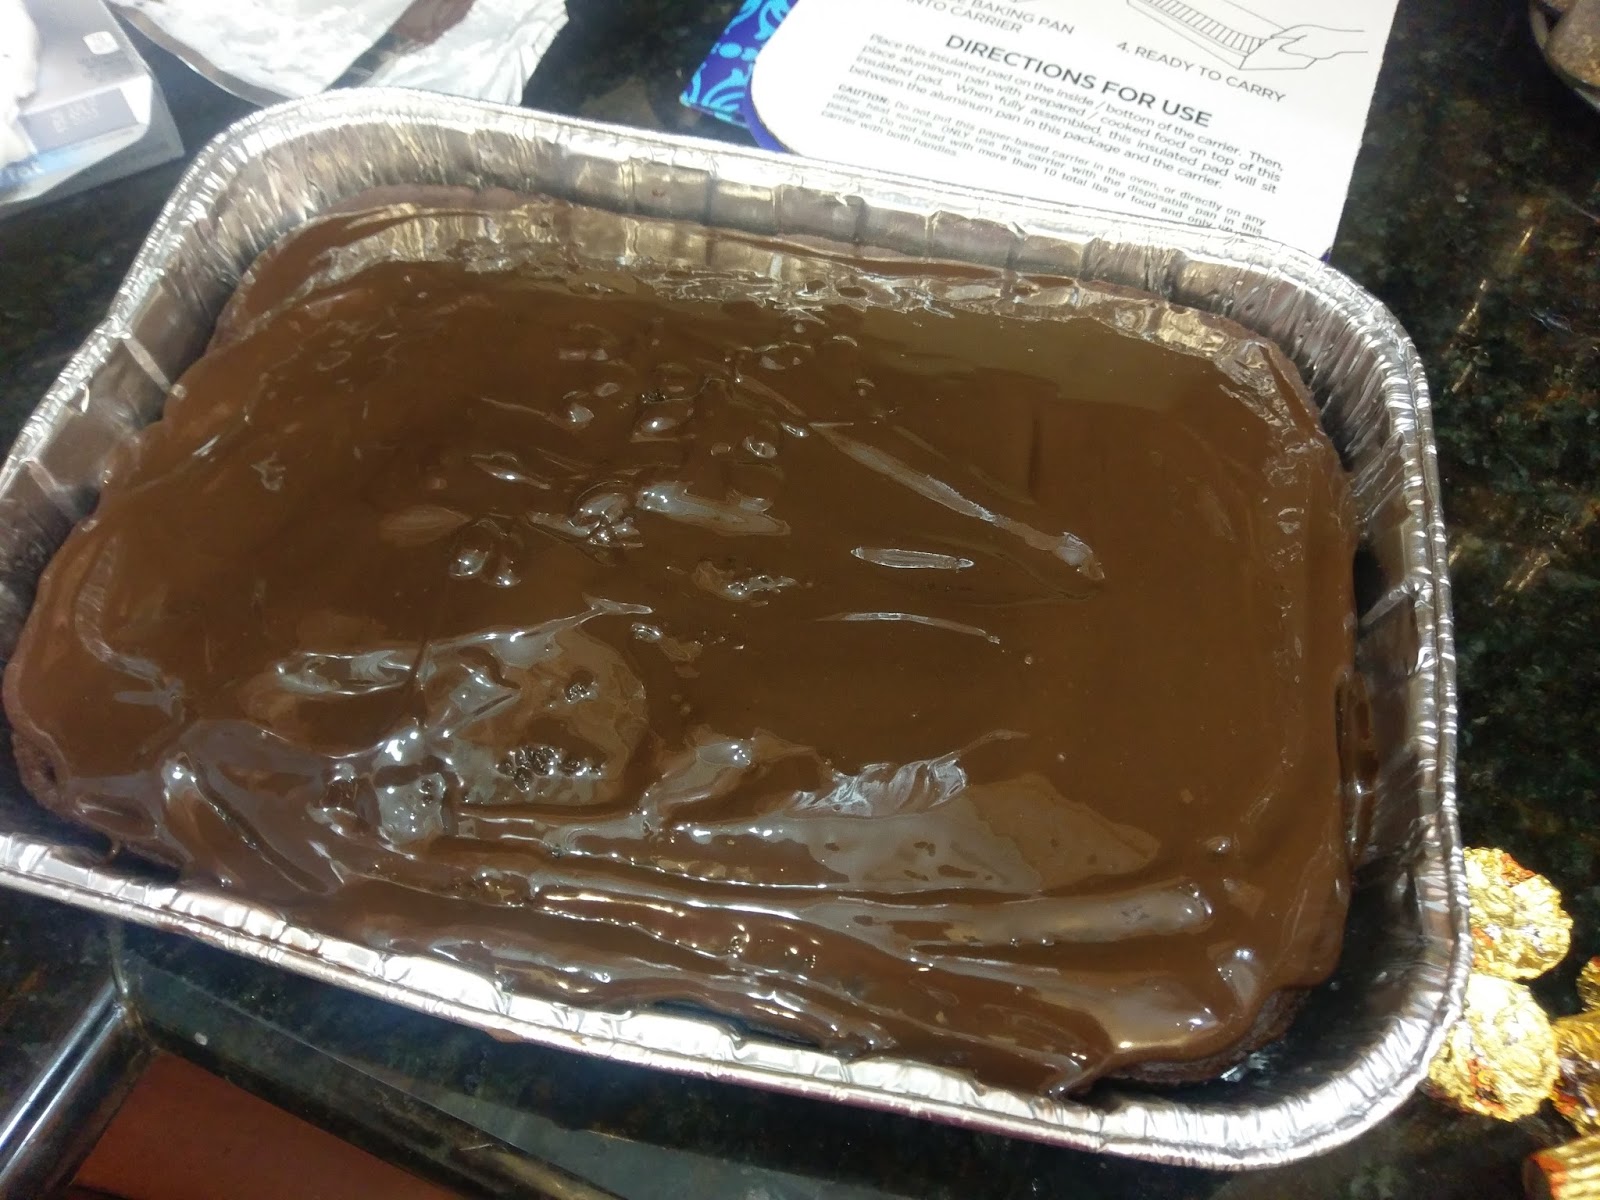
 Is it still good? You bet your apple-bottomed jeans they are. Want to make it even better? Add apple's best friend, caramel, to the top of the cake with a nice drizzle of caramel syrup. If it's before 11 a.m. and you feel like someone might judge you for using caramel syrup that early in the day (maybe it's been a rough morning and you just need it, okay?!), you can always opt for a nice drizzle of maple syrup instead. Not gonna lie, we've been feasting on this for brunch all weekend, and it pairs perfectly with a cup of hot tea and some scrambled eggs...also swimming in syrup. Just the eggs though. My tea gets honey. I'm not a total heathen. I'm trying to decide which way I enjoy eating this cake the most...plain, for brunch, or for super dessert with a scoop of vanilla ice cream, and I really can't decide. I'm simply bananas about apples, so clearly I could eat this with every meal of the day and be one happy, apple-filled camper that never caps out her health insurance premium. Who said eating healthy had to mean giving up taste? Not I. So go forth and make this apple cake! Ditch the pie! Save comparing apples to other apples for another day. 'Til next time, my fellow eaters!
The apple of my eye is made of cake, and that is in no way surprising.

Monday, May 8, 2017

Floats and Dreams

If any of you were chronicling my weekend updates on Facebook, you already know I spent Saturday in what I would consider to be my most massive cheat day since college when I ate and drank with the reckless abandon only a 20-year-old's metabolism can survive. Ten years later, eating like this occurs once every equinox or solstice. Between nearly licking the plate clean for brunch, eating my Texan, cattle-loving heart out at a burger battle, and polishing the day off with a pound of froyo with all the fixins, I thought surely I wouldn't grow hungry for at least 48 hours. Imagine my surprise when I awoke at 5 a.m. the next morning to feed the dogs and was immediately met with the pangs of hunger rumbling forth from my apparently insatiable stomach. I've known since I was a child that I'm the only person in the world whose eyes are actually smaller than their stomach. Although I could probably still polish off eight pancakes before becoming physically ill, my adult forethought keeps me from rehashing childhood mistakes. If only my adult body could figure out how to utilize motor functions better than my childhood one...baby steps. Literally. So I spent Sunday making good choices (well, dietary ones anyway) and decided to stop the insatiable stomach growling with hearty, healthy foods that wouldn't require stretchy pants or ten hours of circuit training to recover from. One of those choices even included pie. My will to treat myself while also not requiring a two-person team to fit me into my skinny jeans has caused me to craft another low calorie delight: root beer pie.
Solids are usually more satisfying than liquids.
I saw this recipe on a Buzzfeed Tasty video and decided I could hijack the original and make it much, much lower in calories with a few simple tweaks. When I asked my husband if he wanted root beer pie for dessert this week, he was both confused and extremely delighted that this could possibly be a thing. There's this magical occurrence at the bottom of a root beer float; the ice cream has melted and mixed in with the root beer, creating an amalgamation of hopes, dreams, and deliciousness. That is exactly how this pie tastes. It is cold, refreshing, and tingles the taste buds for only 170 calories a slice for 8 servings. Any time I can eat a slice of pie with fewer calories than a mini muffin, it justifies why I believe in eating pie for breakfast. Give it a chance. The only thing stopping pie from becoming a breakfast food is people's inability to think outside the box! I also feel strongly about eating breakfast for dinner, so I'm all about squashing food norms.
It also has fewer ingredients than a mini muffin.
Five minutes is all that stands between you and the creation of this pie. It is the easiest thing you can make all week, and apparently in the world I live in, appropriate for every meal. All you need for life-changing root beer pie is:
  • 12 ounces of diet root beer
  • 1/4 cup skim milk
  • 1 package Jello sugar free instant vanilla pudding
  • 8 ounces of Cool Whip Free
  • 1 reduced fat premade pie crust
  • Optional: root beer concentrate to add into piping Cool Whip

Whisking is a good bicep workout..
Start by adding the root beer, milk, and pudding mix to a bowl. Whisk for 2 minutes until the pudding mix has started to thicken. Then, dump in the 8 ounces of Cool Whip and stir. Things will taste plenty root beer-y, but if you're crazy into root beer for some reason, you could always add a 1/4 tsp of root beer concentrate to the pie mix for extra oomph. Pour the filling into the crust:
Alllllmost spilled over. Would've cleaned up. With a straw.
This was a very full pie, so I placed a baking sheet underneath it before putting it into the freezer to chill for 4 hours. Literally does not get any easier than that. It's more difficult to drive to the store and buy a premade pie in its entirety. There's traffic, trying to find parking, and don't even get me started on generally having to interact with the public.
See, root beer concentrate is totally a real thing. Photographic proof that it is not the Sasquatch of extracts.
Once my pie had frozen through, I mixed a small amount of Cool Whip Free with 1/4 tsp of root beer concentrate and loaded up into a piping bag fit with a #32 tip. I wanted to create a fancy-looking border that wasn't the standard 1M star border or 2D rose border I usually do with pies. I'm trying new things here, people. For someone who plans out an entire week in advance down to the outfits I'm going to wear, this is a small step towards rebellious behavior for me. I realize my OCD planning makes me about as exciting as watching paint dry, but I'm the person you go to when you need a good plan or a good pie, so I got that going for me.
To make the braid, start by piping a small parenthesis --> (
Take your piping nozzle and place it in the middle of the parenthesis. Pipe an overlapping parenthesis that covers half of the one on the bottom.

Repeat for the entire pie. The ending can get tucked away and hidden on the edge of the pie. I do love being able to cover up my mistakes. I mean, who doesn't. It's kinda this thing called human nature, I suppose.
It's glowing for a reason. A pie so good, it is actually heavenly.
 You will want to keep this pie in the freezer until you're ready to serve. About an hour before you might want pie (this is literally every hour of my life), cut your slice and place into the fridge to soften. I made the mistake of cutting our pie last night right after dinner and promptly forgot to put it in the fridge (Bob's Burgers was on. I already told you how much I love things relating to cow). When I went to grab our pie an hour and a half later, it was mostly melted but still tasted absolutely amazing. I consider this to be a testament to the recipe itself. I enjoyed this pie so much I had an actual dream about it; so naturally I woke up really hungry again and wondering when my next chance would be to eat a slice. My husband is working tonight and I don't want to short him on pie servings (I may be boring, but I am at least considerate), so it will be a day sans pie for me. But it doesn't have to be for you! Make the pie and awaken your inner root beer lover. It's still in there--buried since childhood, waiting to relive the glory of root beer float magic. 'Til next time, my fellow eaters!
It will make all your floats and dreams come true. If they involve root beer, anyway.