There are some people in this world that hate chocolate and mint together. They're wrong. Mint and chocolate together, to me, are only rivaled by peanut butter and chocolate together, and that's just because I have a borderline unhealthy obsession with both. I absolutely love when March comes around since St. Patrick's Day is the perfect opportunity to add mint and chocolate together. Sometimes with Baileys. Sometimes with Guinness. Sometimes even just with more mint and more chocolate. Such is the case with my first St. Patrick's Day dessert this year, it was simply mint to be.
 |
Also, it's aesthetically pleasing to join green and brown together in a food without it looking like a pile of weird, potentially moldy goop.
|
These mini Andes mint cheesecakes are a handful (literally) in terms of flavor. A buttery Oreo crust is topped with a mint cheesecake hiding little bits of Andes pieces and adorned with a nice thick layer of chocolate ganache. Every layer is its own form of taste bud heaven, and that rich chocolate flavor from the top and bottom somehow still lets the mint cheesecake flavor take center stage. It's decadent and refreshing all at the same time, and they're only 205 calories per cheesecake. This recipe makes 15 mini cheesecakes total, so you can share if you're nice; or you can hoard them like a leprechaun and his pot of gold. It'll be holiday-appropriate selfishness, so you do you.
 |
Everyone around you will be green with envy, naturally.
|
I was adapting a recipe, excited because I was getting mint chocolate, and totally forgot to pay attention to how I always prefer to blind bake cheesecake crusts, and I paid for it, y'all. So don't be me. Remember to always blind bake your cheesecake or pie crusts before filling them so they'll be nice and crisp and not soggy...consider this my encourage-mint to you to be a better baker! For the crusts, you'll need:
- 15 Oreos (I would prefer the mint Oreos, but they do not have them available gluten free, so I went with regular)
- 2 TBS Lakanto classic monkfruit sweetener
- 4 TBS low fat butter, melted
Combine all ingredients in a large food processor or blender...I used my Ninja blender, chopping on high until everything was a fine mix.
 |
That shot glass has come in so handy. For baking. Seriously.
|
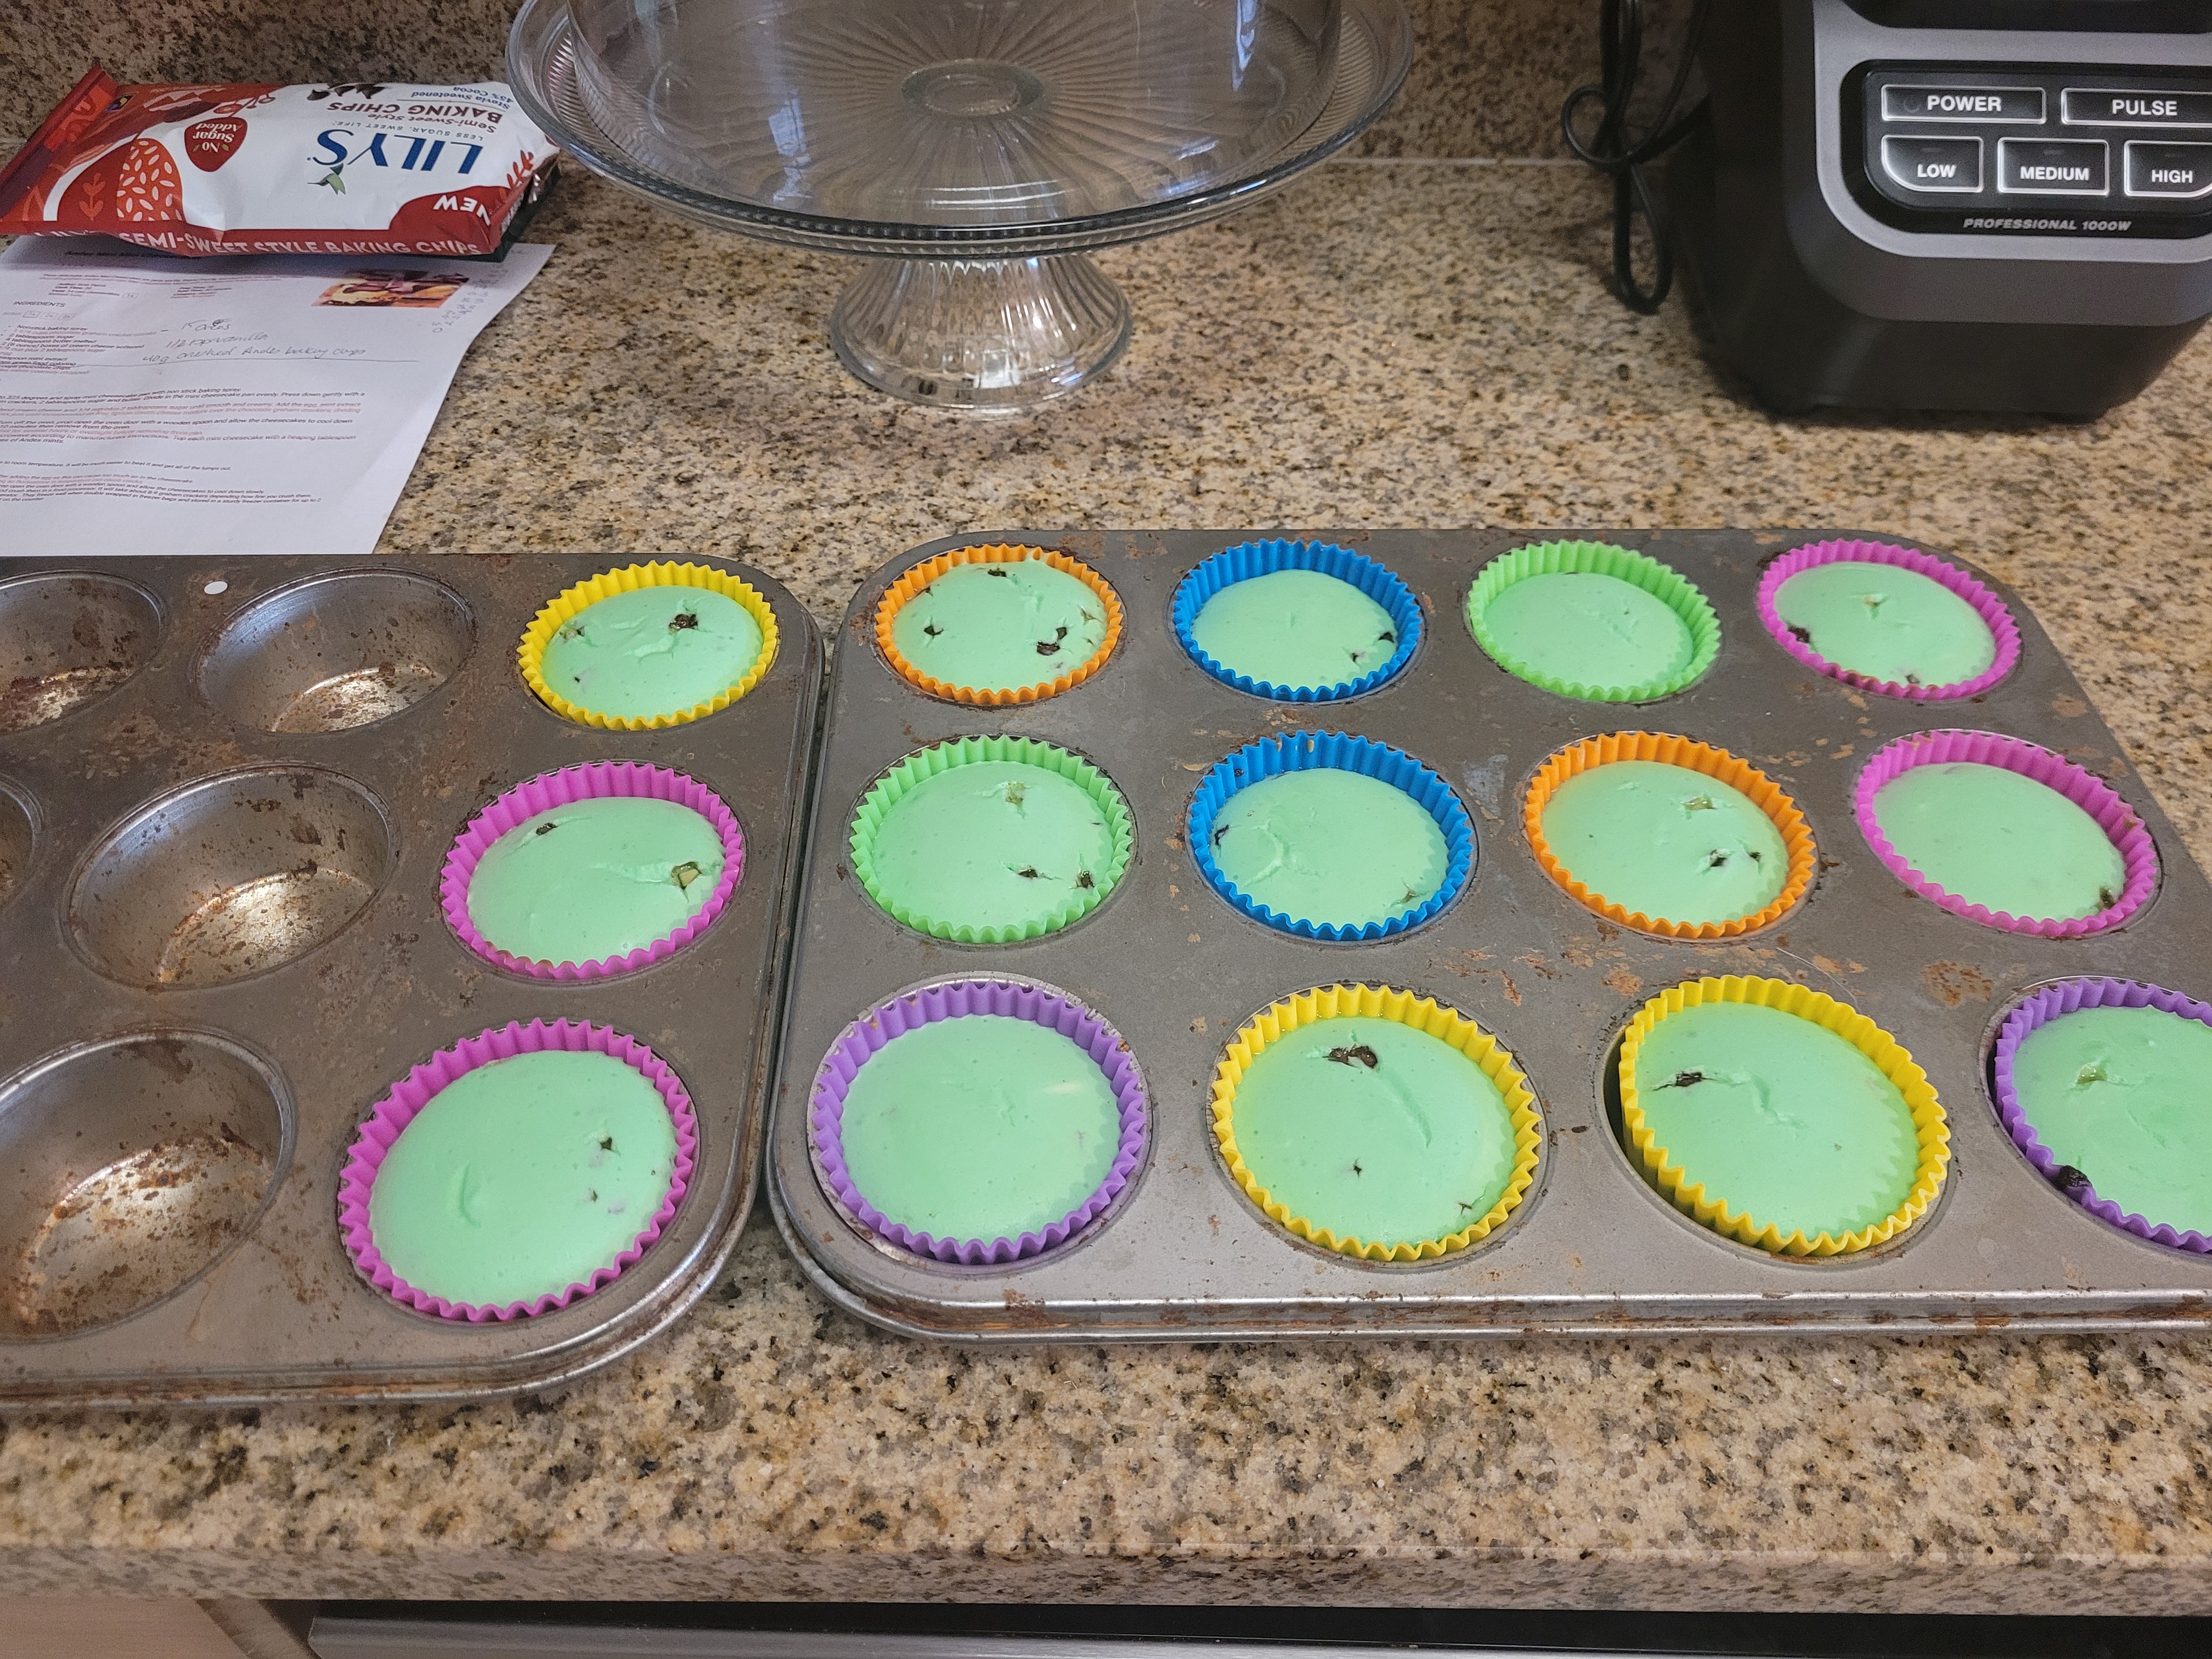
Using a cookie scoop, I dropped a large dollop into each silicone cupcake liner. These liners are awesome, not just because they're also rainbow colored and therefore St. Patrick's Day approved, but because you don't have to spray your pan or use throw away liners; they are so easy to remove ANYTHING from, even sticky foods, so just go get yourself a set. I used the bottom of a shot glass sprayed with Pam to evenly spread the crust out in the liners. A tablespoon would also work! Here's where I tell you to blind bake these crusts for 5-7 minutes at 325 degrees, then let them cool fully while making your filling. I skipped this step, and the crusts were super soft and messy. Granted, they're just Oreos and butter, so under baking them poses no health risk, and we're still eating them by the fistful anyway while my in-laws are here for a visit (also appropriate since they're the ones who gifted me the silicone cupcake liners).
 |
Andes mints should be eaten after all meals, not just Olive Garden ones.
|
For the cheesecake filling, you'll need:
- 16 ounces 1/3 fat cream cheese, at room temp
- 1/2 cup Lakanto classic monkfruit sweetener
- 1 egg at room temp
- 1/2 tsp vanilla extract
- 1 tsp mint extract
- 40 grams (1 serving) crushed Andes baking chips (sorry, not pictured!)
- Green gel dye
- 6.5 ounces of Lily's semisweet baking chips
- 8 Andes mints, cut in half diagonally
 |
Check out those little Andes bits though..drool.
|
Start by mixing the sweetener and cream cheese together on medium-high in a stand mixer. Give this about 3 minutes to come together and get nice and fluffy. Then add in the extracts, green gel dye, and the egg, mixing on medium-low speed for a minute or two until things are fully incorporated. Mixing on low keeps too much air from entering the batter; this can cause your cheesecakes to crack. It's not the end of the world if these do since they'll be topped with ganache. Finish by mixing in the Andes baking chips on low speed. Pour the batter on top of the cooled crusts, filling each liner almost to the top. Bake for 20 minutes at 325 degrees, then turn off the oven, crack the door open, and leave them to finish baking for another 10 minutes.
 |
Something about this photo soothes my soul.
|
Once those 10 minutes are up, go ahead and place the tins in the fridge to cool. If you're using the silicone liners, you can take these out of the pan after about 30 minutes in the fridge since they're so sturdy; you won't have to worry about the cheesecakes collapsing before they're fully cooled (wait at least an hour with regular cupcake liners). Just place them on a plate (liners STILL ON), and cover with plastic wrap. Put them back in the fridge to set overnight or for at least 4 hours.
 |
Cheesecakes are one of the few things in life worth waiting for...
|
The next day, I removed all my cheesecakes from the silicone liners. Honestly, they were SO PRETTY like this I thought about calling it a day/recipe. But you know how I feel about adding accents to the top of everything (it is nonnegotiable), so I melted 6.5 ounces of Lily's baking chips on 50% power in the microwave for 1 minute, stirred, and zapped again for another 30 seconds. These ended up acting like Magic Shell and are pretty thick, so if you want a softer ganache, add a 2-3 tablespoons of heavy cream or milk to the melted chocolate, mixing well.
 |
And then I prepared to make a mess.
|
While your chocolate is melting, throw down some wax paper and place your cheesecakes on top. Unwrap 8 Andes mints, cutting them in half diagonally. There will be one half leftover, so pop this in your mouth for all the hard work you've accomplished so far and treat yo-self.
 |
This photo is is everything.
|
Take a spoonful of melted chocolate, and drizzle it on top of each cheesecake. I used the back of the spoon to smooth the tops and push some of the chocolate over the edges.
 |
Oh the enjoy-mint.
|
Finish things off by placing half an Andes mint into the top of the ganache. Let these set up without moving them for 10-15 minutes, then put them on a plate and move them to the fridge to let the ganache finish setting up for a few hours.
 |
These absolutely sham-rock.
|
We've been eating these by flipping them upside down so we can hold the Andes mint topper and chow down since the crusts are a little too soft to handle. The ganache is nice and firm, so it acts as a better base, to be honest. Each bite has a little bit of Andes mint magic hiding in it, and I'm hard pressed to decide what my actual favorite part of this dessert is, so it's a good thing it is all bundled together. Definitely heed my warning and blind bake those crusts, though! Even without the perfect crust, these are still beyond delicious, so I can only image how wonder-inducing they'd be if I wasn't such an excited spazz when it comes to making mint chocolate desserts as fast as possible so I can devour them with the zeal and fervor shared by that leprechaun as he hides his Lucky Charms from children. Because seriously, who wants to share something so magically delicious? 'Til next time, my fellow eaters!
 |
| We only have four left, so I'm planning my next mint endeavor... |


No comments:
Post a Comment
Leave me some love, some advice, tell me the meaning of life...whatever you fancy! You don't have to have a Blogger account, you can leave a comment by clicking "Anonymous" in the "Comment As" box..but if you're not a troll, leave me your name after your comment so I know who said what!