I'm a huge fan of fruit-based pies. Mainly because you can eat them for breakfast because there's literally no difference between a slice of cherry pie or a cherry turnover. I like my desserts versatile, and I may or may not have any control whatsoever over my sweet tooth. And much like my sweet tooth, I also have literally no control over the weather here in Northwestern Florida. It's February 12 and currently 75 degrees outside. I was outside for two and a half hours yesterday at my husband's rugby game, and my body is rocking a love shade of crimson today because of it; mind you, I even had on SPF 8000 made for kids because my skin is pasty and translucent and burns even if you just look at me for too long. It's full on spring merging into summer down here, but instead of pitching a fit, I'm trying to adapt the best way I know how: culinarily. You see, youthful 20-something Kate may have moaned, groaned, and pulled the shades shut, but older, wiser, 30-something Kate has decided to turn those lemons into lemonade, or in this case, fruit-based pie. Maybe moving to Florida in our 30s was a good plan. AARP jokes aside, I see why people might want to retire here. It's literally so warm and humid year round that it preserves you from the inside out. Perhaps it should be called the self-preservation state instead of the sunshine one. All this talk of preserves leads me back fruit and, in turn, fruit pies. I decided our warmer weather warranted a delightfully light and fluffy summery pie. And where there's a will, there's a Kate, and she's almost always baking desserts...this time in the form of a pineapple pie with homemade graham cracker crust.
 |
| A new favorite, thankfully appropriate all year around here! |
So some of you might be experiencing snow, cold, blustery winds, etc., all the joyous aspects that come with winter that I miss terribly. But do you have pineapple pie?! No. No you do not. But you can. Quite easily, might I add...this is about as simple as it gets in the dessert department. And then you, too, can at least eat a slice and let your mind drift into warmer, sea-breezy climates where drinks come with umbrellas and skin is a lovely shade of bronze (or red, if you also suffer from an inherent Canadianesque inability to tan). If you're worried about winter weight, I've even figured out how to make this pie health conscious. It's only 240 calories a slice. Considering a slice of most pie will set you back anywhere from 500-800 (get it together, pecan pie) calories, this is minuscule in comparison. But it is certainly not lacking in flavor. We've been nibbling on this pie for a few days now, and each plate is served with a side of satisfied ooh's and aah's. It is light, the topping is heavenly, and the crust melts on your tongue. We adore the sweet tang of pineapple, and when you top it with a thick layer of Cool Whip, it only gets better.
 |
| I own the world's most adorable food processor. |
Real talk, you could make life even easier and buy a low-fat premade crust, but my husband bought me a 4-cup food processor I had been eyeing for ages for my birthday, so I wanted to make my own pie crust. It's a super easy process, still, so if you are interested in a low-fat pie crust recipe, gather up:
- 6 sheets of low-fat graham crackers
- 3 TBS of butter (still cold and cut into chunks)
- 2 TBS of sugar or sugar substitute
- 1 TBS water
Otherwise, feel free to skip to the filling recipe below if you buy a premade crust. For you diehard food processor owners, start by pulsing together the graham crackers, butter, and sugar until it forms a nice crumb. Then add in the the water and pulse until you've got thick crumbs:
 |
| Like so. Love the wonder that is the tiny food processor. |
 |
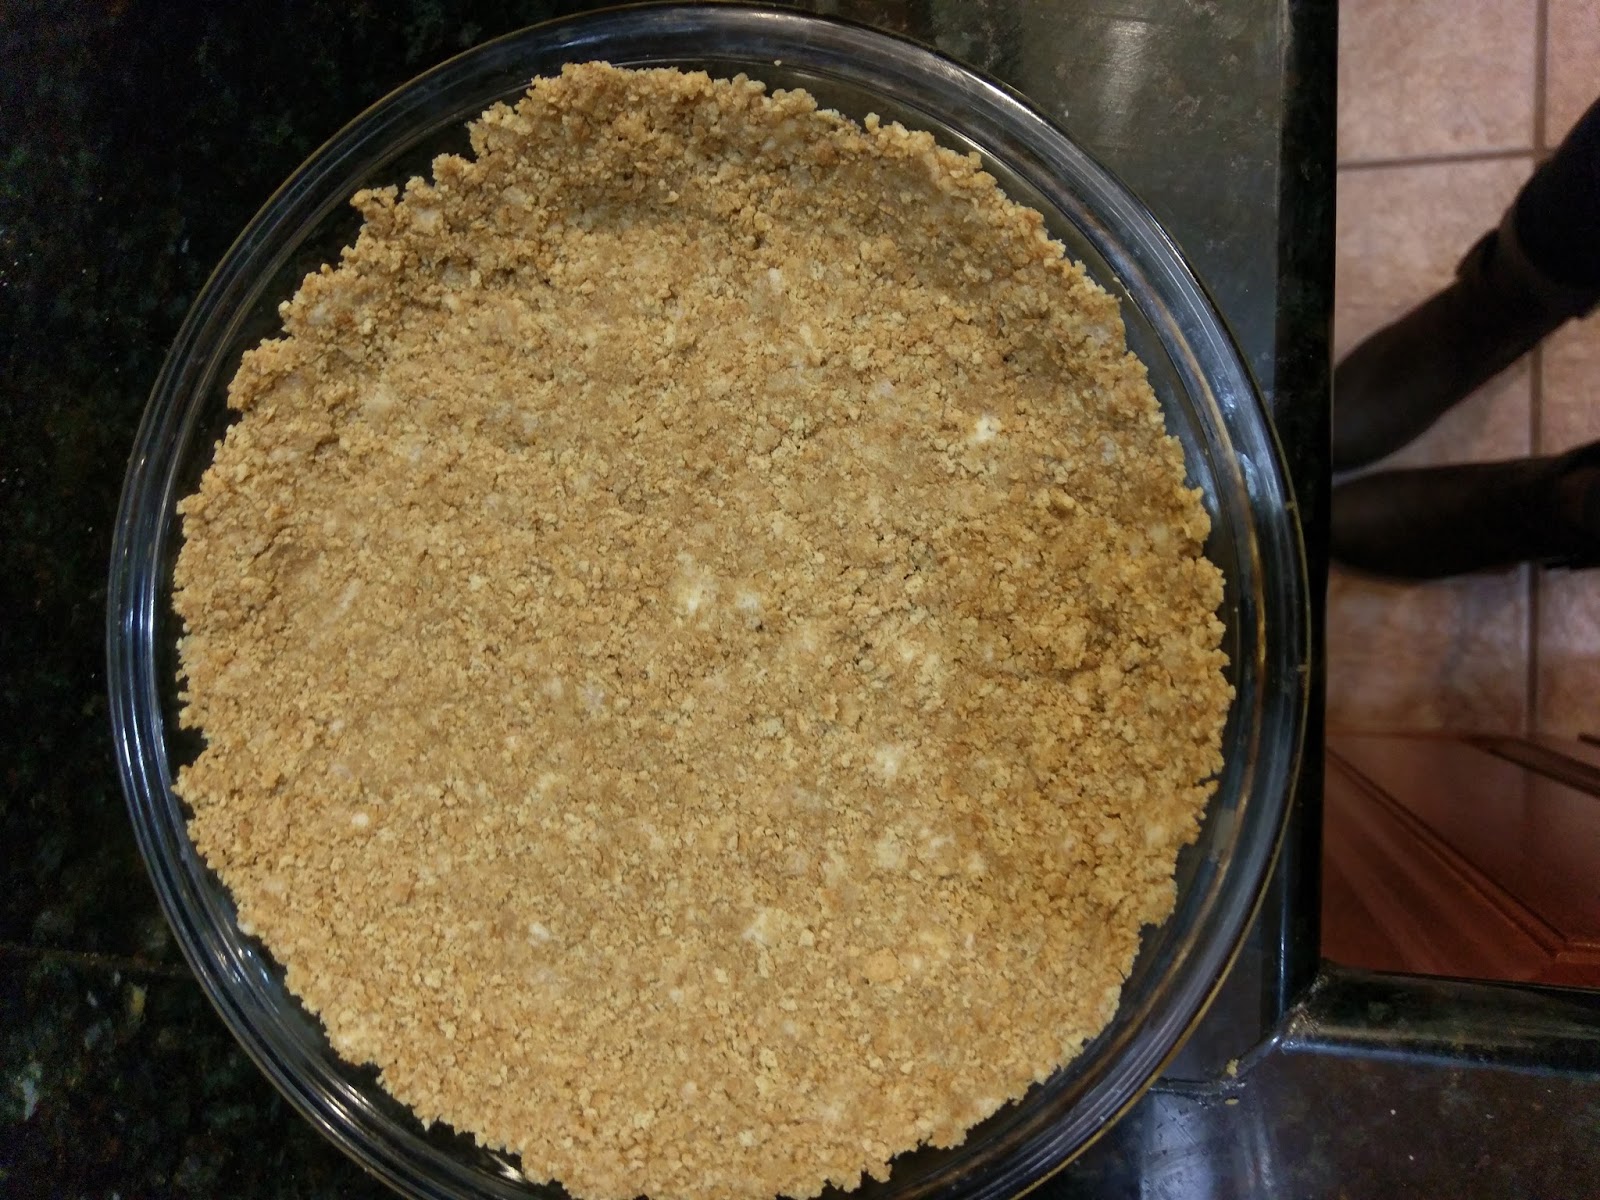
| Then press into a 9-inch pie pan. I am marveling at the fact that it was cool enough to wear ankle boots when I made this crust. It must have been a chilly (65 degree) day. |
Now, to prevent the crust from crumbling when you serve it, place it into the freezer for 15-30 minutes to firm up. I went for the full 30 just to be safe. When time is almost up, preheat the oven to 375. Bake your crust for 10 minutes; it should be a nice shade of golden...you know, like the color I wish I could tan to without the help of sunless tanner:
 |
| "I wish I had a skin tone best described as freshly baked pie crust." |
Now, let your crust cool fully before adding in the filling. I placed it on a rack and put it into the fridge for a half hour. Literally the most annoying thing about making this pie is that the actual time spent in the kitchen making it is about ten minutes, but when you add in all the time to chill and set, it's more like four hours. The price to pay for tasty dessert is a minor inconvenience, so it's still a winner in my impatient book.
 |
| Yep, this is really all you need. |
So, this is an extremely lazy pie. Like, wearing pajamas in the airport level of lazy. All you need for the filling is:
- One 20-ounce can of crushed pineapple (reserve a tablespoon of juice)
- One 8-ounce tub of light sour cream
- Two packages of sugar free/fat free vanilla instant pudding
- Whatever size tub of Cool Whip Free you feel is necessary to top your pie. I just happened to have a 12 ouncer in the freezer in the event of a dessert-related emergency.
Buckle up, here comes the hard part:
Dump the pineapple, reserved juice from the can, sour cream, and pudding mix in a bowl. Blend until everything is mixed together and a lovely shade of yellow...think "Easter" yellow. Then dump this into your chilled pie crust or premade crust and smooth out.
 |
| Kinda looks like potato salad. |
Now, take your pie and place it into the fridge to set for two-four hours. You just want it firmed up enough that spreading a layer of Cool Whip on top isn't going to interrupt the settling process. Alternately, you could place it in the freezer for an hour if you're in more of a hurry.
 |
| I enjoyed several spoonfuls of Cool Whip to help pass the time. |
Now, you can slather on the Cool Whip however you like. You could use a 1M or 2D tip and pipe stars on the top of the pie in Cool Whip or use the same tips to make rose swirls. I decided to go for a more classic and meringue look. It was effortless to achieve. I simply plopped a large mound of Cool Whip on top of the pie and smoothed it out with a spatula.
 |
| This was not an easy photo to take one-handed. |
Then I took the back of a spoon and swirled it around a few times and pulled up and away quickly. Repeat this all over. This forms the circular, peaked look of a meringue pie.
 |
| And it's pretty awesome. |
 |
| I mean, check out those peaks! |
At this point, you could cut and serve if you've left your pie in the fridge or freezer long enough to set. I ended up placing my pie back into the freezer for two hours in order to make really clean slices for photo ops. If you're not a food blogger, this is not something you need to worry about...but remember, it is a sacrifice I make for you every week.
Feel sorry for me while you eat your pie. This is definitely a pie you want to keep refrigerated for the very short while it survives before it is completely devoured. I promise you it won't last long. It's simply too good. The sweet-to-sour ratio is absolutely perfect with this pie. It reminds you if you're stuck in winter that warmer temperatures are on the horizon. It reminds you if you're stuck in permanent summer that one of the few benefits of an 80-degree day in February is that frozen drinks and cold fruit pie are a benefit you get to experience 365 days of the year. It's literally the most optimistic dessert I've ever made. It's bordering on divine. Even if you're not a fan of pineapple, you could easily sub any other can of fruit your taste buds prefer. Adaptable and easy...I'm really serving this one up for you (literally). Now I'm off to slather myself in aloe vera and dream about a day when my skin is pie-crust bronzed and not sea-crab red. 'Til next time my fellow eaters!
 |
| Thankfully this pie also soothes the pain of a sunburn! |


No comments:
Post a Comment
Leave me some love, some advice, tell me the meaning of life...whatever you fancy! You don't have to have a Blogger account, you can leave a comment by clicking "Anonymous" in the "Comment As" box..but if you're not a troll, leave me your name after your comment so I know who said what!