Every year, I try to make my husband a birthday cake that is cooler, better, and crazier than the last. Months ago, I saw a really awesome lumberjack cake on Pinterest, and I thought to myself, "It's so incredibly Canadian.
It's absolutely perfect." Derek just happened to look over at my screen (or I shoved my Kindle in his face, who's to say at this point, it was months ago), and he thought it rocked. So back in February, I committed to memory that this was *the cake* for his June birthday. When it comes to cakes, my memory is a steel trap, but I honestly couldn't tell you the name of someone I met 35 seconds ago, so my priorities are exactly where they should be. Anyway, my husband and I love Canada (our happy place), and I ADORE plaid (75% of my wardrobe are plaid shirts that sadly get no use in Florida), so much so that I even buy Derek plaid button-up shirts because 1. They make him look like a Canadian lumberjack, and 2. I find that to be incredibly attractive. I also figured a cake that looked like a tree stump and was extremely plaid on the inside was also possibly the manliest of cakes to ever exist, and I am happy to report, this is a concrete fact:
 |
| Behold, a cake fit for a rugged outdoorsman! |
My husband loves being outside, hiking, camping, soaking up nature, and he ended up with a wife who, while she enjoys hiking and being outside, enjoys indoor plumbing and air conditioning way more. At least she knows how to bake? ...I tell myself that this and my own ability to also look incredibly attractive in plaid button-ups make up for these other shortcomings. At least I can *appear* like someone who is outdoorsy. This nature-themed cake is made up of 4 six-inch round red velvet cakes with chocolate Baileys buttercream frosting. How I had never thought to make chocolate Baileys buttercream before is absolutely beyond me because dear sweet Mother Nature, this is hands down the best frosting mashup I have ever had the pleasure of eating. The words "life-altering" were thrown around (in my own head), but the birthday boy absolutely enjoyed this cake, and he's not even a huge chocolate lover. But the flavor of the frosting combined with the red velvet cake was the perfect amount of decadence. Add to the fact that each little plaid square inside is the perfect fork-sized bite, and you've got a recipe for a birthday cake even people who hate nature would love. At 339 calories a slice (12 slices total), it is worth every second of walking, hiking, and forcing yourself to be outside in the summer heat to work off.
 |
| Although it will take like three solid days to make. |
I made the actual cakes a week ahead of time and froze them, and it took me most of Saturday to do so since you're making 8 cake rounds essentially. The baking and cake assembly definitely take the longest--frosting and turning everything into a tree actually takes less time, so,
your move, nature. To make, you need:
- 1 white cake mix
- 10 ounces diet creme soda
- 1/3 cup unsweetened applesauce
- 3 egg whites
- 1 red velvet cake mix
- 10 ounces diet creme soda
- 1/3 cup unsweetened applesauce
- 3 egg whites
- Red gel dye, black gel dye
Start by making the white cake mix by combining all ingredients and blending well. Add in several drops of red gel dye until the cakes are bright red. Pour 8 ounces of cake batter into one greased 6-inch round cake pan. Pour another 8 ounces of cake batter into another greased 6-inch cake round. You'll have half of this cake mix leftover..set aside because you will need it later. Clean out your mixing bowl and make your red velvet cake. I added a drop or two of red and a drop or two of black gel dye to make these rounds maroon. Then I repeated, 8 ounces of batter into a prepared 6-inch round, and 8 more ounces of batter into a fourth prepared 6-inch round. I baked all four of these rounds at 350 for 24 minutes.
 |
| Colors for reference! |
 |
| Soooo much black gel dye... |
While these four bake, head back over to your leftover batter. Take 8 ounces of the red velvet cake and dye it BLACK AS MY SOUL. You probably will only have about 5 ounces of red velvet batter left by now, so you can either add 3 ounces of the white cake mix we dyed red to get 8 ounces of cake or just use 8 ounces of the white cake mix, but in either case, you will also want to dye these black as night, could be none blacker level of darkness. Set aside and check on the cakes in the oven. Once those four are done, let rest in the pan on a cooling rack for 10 minutes before you turn the cakes out on the cooling rack to finish cooling completely. My red velvet cakes dyed maroon--the ones that make up MOST of the cake, decided to come out of the pan super wonky. I'm not even sure how it was possible with how religiously I used Pam, so I assume this only happened because they were the two layers I needed the most, and that is how my life works.
 |
| But I digress. |
I then re-prepared 4 six-inch cake pans, pouring 8 ounces of black cake into one pan, 8 ounces of black cake into another pan, and split the remaining/leftover cake batter between two pans because I desperately needed something to feelings eat after my red velvet cakes betrayed me. Bake these for another 24 minutes and follow the steps above for cooling.
 |
| This is not the bullseye on my head, life, so keep on walking! |
I did some Google searching--if you make 8-inch rounds, Wilton's round cookie cutters are perfectly sized to cut the cake into the layers you need. If you use 6-inch rounds, they do not. So instead, you have to Google checkerboard cake templates until you find one with 3 circle layers and print it out to fit a 6-inch round cake.
Good times. Once all of your cakes have cooled, be sure to level them all so things will fit together nicely and freeze for at least two hours (I wrapped mine in plastic wrap and froze them overnight so they would hold up when I cut them into circles). I had to chop mine down a bit since my red velvet maroon cakes left behind their bottoms in the cake pan. Now hold on to
your bottoms, because here comes a photo montage!
 |
| Cut out each circle, and grab some toothpicks and a cutting board. |
 |
| Take the largest circle, and place it on your cake, securing with toothpicks so it doesn't move. Again, I recommend doing this on frozen cakes so they don't fall apart. |
 |
| With a sharp knife, cut along the edge of the circle template as a guide. |
 |
| Then add the medium circle template on top, securing with toothpicks and using a sharp knife to cut out the center. You will not use the middle/center template circle. Repeat for all of your cakes (6 times total). |
 |
| Very carefully and with the dexterity of a cat on Adderall, slide your hands under each cake and carefully remove the inner circle. Set aside on plastic wrap. Then try to remove the middle circle piece. I had some outer pieces that completely tore or broke during this process, but, don't worry, freezing and frosting WILL ensure this does not matter in the end. You should have a ton of circles like the photo above at this point. |
 |
| Now, take a large outer maroon circle, place a medium black circle inside, and then place a maroon center inside of that. Repeat one more time. Then take a bright red outer circle, place a medium maroon circle inside, and place a bright red circle inside of that. Repeat once more until you have what's going on in that magical photo above. ALL of your maroon cakes will be used. |
 |
| Oh look, even more leftover cake! |
So while you make 8 cake rounds total, you only end up using four once everything is cut up. You'll have black outer and center circles and red inner circles leftover. I wrapped all of my cake rounds in two layers of plastic wrap and placed each into a freezer bag. These were frozen for 5 days before I got to frosting. Freezing helped any pieces that had torn or broken apart kind of glom back together. Small miracles.
 |
| And by small miracles, I mean, thanks, Baileys! |
Now is *finally* the easy part: making frosting and tree bark. For the bark, you simply need 4 ounces of dark chocolate and 4 ounces of semisweet chocolate.
 |
| Melt according to package directions, and spread out on a large square of Parchment paper with an angled spatula. |
 |
| Place another sheet on top and smooth out the melted chocolate. |
 |
| Roll up into a tube and secure with a rubber band. Place in the fridge to harden for 2 hours. |
While this settles, make your frosting. You need:
- 1 cup of butter at room temp
- 1 TBS vanilla
- 3 cups Swerve confectioner's sugar
- 1 cup powdered sugar
- 6 TBS Baileys
- 2 TBS skim milk
- 3/4 cup of cocoa powder
- Tan and black gel dyes
Whip the butter in the bowl of your stand mixer until fluffy, then add in the vanilla, two cups of Swerve, and 3 TBS of Baileys. Mix well, scrape the bowl, then add in the last cup of Swerve and one cup of powdered sugar. Add in the last 3 TBS of Baileys and mix well. Take out enough of your plain white Baileys frosting to top your cake with and set into a small bowl and dye a lighter tan shade. Now back at your mixing bowl with the rest of the frosting, add in the cocoa and 2 TBS of skim milk and blend well. Remove a small amount of this frosting into a bowl and dye it jet black. This is what will fill your inside layers, so you don't need a lot of frosting since the plaid "stripe" is thin. Lumberjacks, assemble!
 |
| Is what I assume lumberjacks say. |
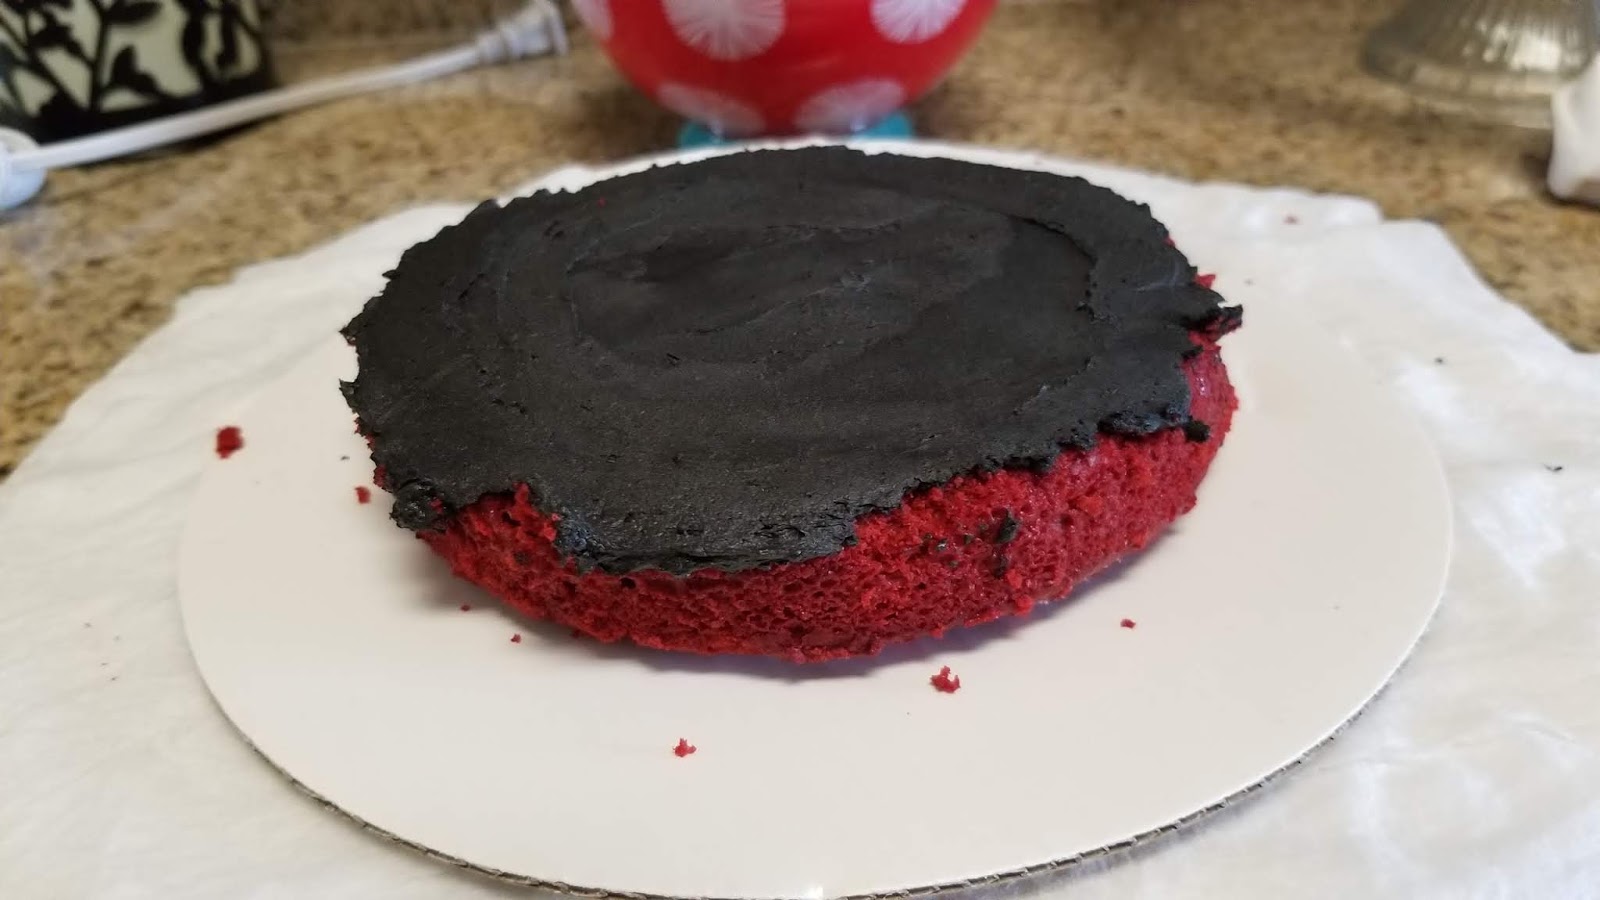
Take a maroon/black/maroon cake round, place on a cake plate, and spread a thin layer of black frosting on top:
 |
| So thin an Oreo Thin would be jealous. |
Now, top with a red/maroon/red round, spread another layer of thin black frosting, then top this with the other maroon/black/maroon cake round, giving one final layer of thin black frosting a swipe. You will top your cake with the last red/maroon/red cake.
 |
| Check that this is what you have going on or you won't be lumberjack plaid. You'll get drunken plaid instead. Or maybe tartan kilt. |
|
|
|
|
|
 |
| Take the tan frosting, and spread a generous, thick layer of frosting on top of your cake. |
 |
| Set aside a small piping bag fitted with a #3 round tip and a small amount of the plain chocolate frosting for later. Then slather a ton of chocolate frosting on the sides of your cake, smoothing out. To complete the tree look, I swiped my angled spatula up the sides of the chocolate frosting. |
 |
| So anything that pokes out under your chocolate bark later looks nifty! |
 |
| Then I took the world's largest serving fork and traced circles on top of my cake to give my tree stump rings. |
 |
| Ah yes, making a ginormous mess. |
 |
| Grab the piping bag you set aside and pipe chocolate into the divots left behind by the serving fork. |
 |
| Take your angled spatula and then smooth this out repeatedly to achieve the final look of a tree's rings. |
 |
| Gonna level with you, I ate about half of this. |
Take your tube of chocolate and unroll. Things will break apart like they should. You can dust this with cocoa or powdered sugar to give some texture to your bark. Then simply place onto the sides of the cake so the round/curved sides are facing into the frosting. I used about 50% of my bark, so depending on your cake round size, you could be safe with 4 ounces of melted chocolate.
 |
| Either way, it looked awesome. |
 |
| Pardon my thumb, I was really excited about how cool this looked. |
Dead ringer for a dead tree! Place this into a cake safe and keep in the fridge so the chocolate doesn't get melty and the cake stays chilled and easier to slice until you're ready to devour it all like a good lumberjack should.
 |
| Birthday songs were sung. |
Finally, the moment of truth came--blowing out candles and cutting into the cake. The whole time in my head I was thinking, "Please be plaid, please be plaid, please be plaid," and as it turns out, I was actually saying this out loud because I am nothing if not a crazy ball of anxiety.
 |
| Thank the lumberjack gods. |
It's plaid! I figured if all else failed, we'd still have a really yummy cake, but I am so happy at how obnoxiously plaid this cake is inside. It's a crowning achievement in my love of Canadian-related food items (poutine is always first), but more importantly, my husband thought it was flippin' perfect. We're excitedly awaiting cake time this evening for round 2. Because although I feel like eating cake for breakfast is a perfectly reasonable thing to do on your birthday weekend, my husband is the grown adult in this situation, and since he's older, it's only appropriate. I guess I'll just go ensconce myself in plaid and wait by the fridge...this cake is definitely worth biding time for between that chocolate Baileys frosting oozing with silky deliciousness and red velvet cake that is a perfect flavor compliment to it. I could never cut it as a real lumberjack, but I can cut a lumberjack cake, so I've got that going for me. 'Til next time, my fellow eaters!
 |
| I really need to visit Canada again soon. |


No comments:
Post a Comment
Leave me some love, some advice, tell me the meaning of life...whatever you fancy! You don't have to have a Blogger account, you can leave a comment by clicking "Anonymous" in the "Comment As" box..but if you're not a troll, leave me your name after your comment so I know who said what!